Ranger Transformation (56k beware)
#1
I thought that I would make a thread of my Rangers transformation from stock to where it is currently.
I purchased my 01 4x4 off-road 4.0l sohc ext cab in August of 2008 and was eager to personalize it.
To my knowledge, it came with every possible option. Which I was pretty excited about. And now for the picture story
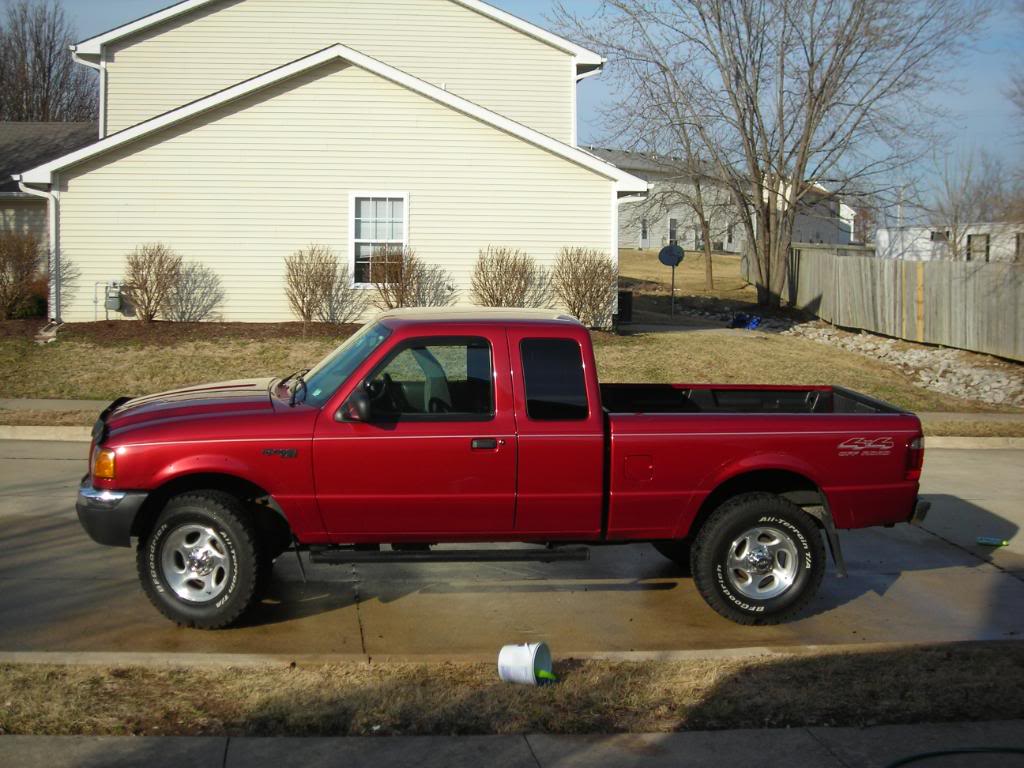
Stock
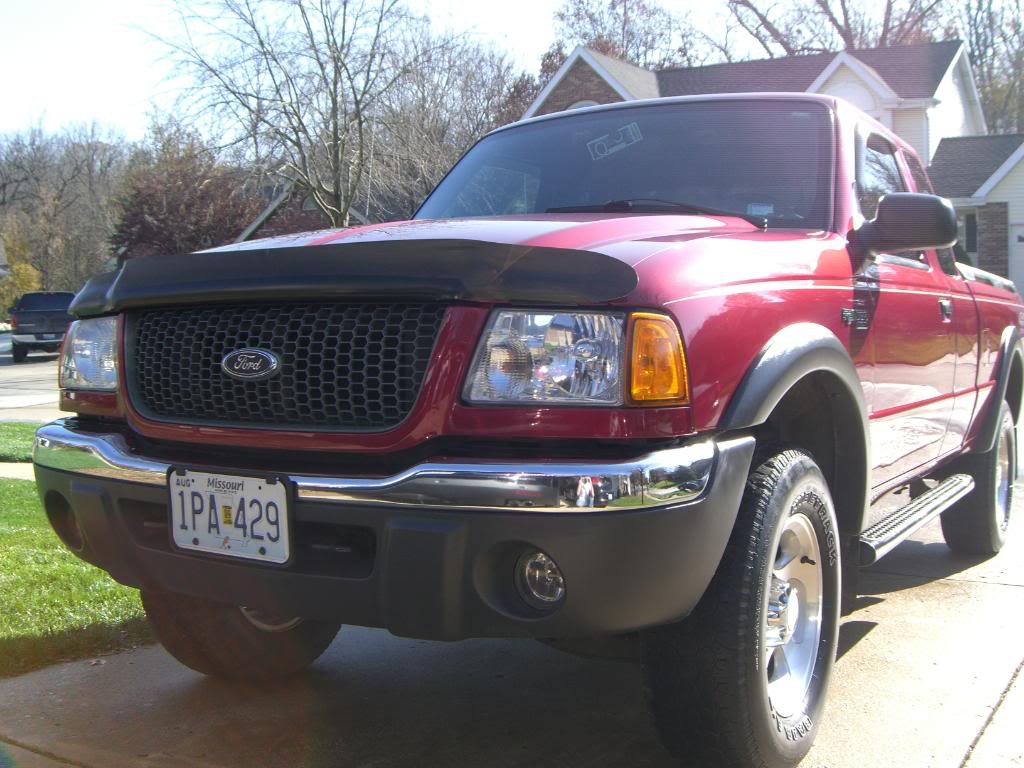
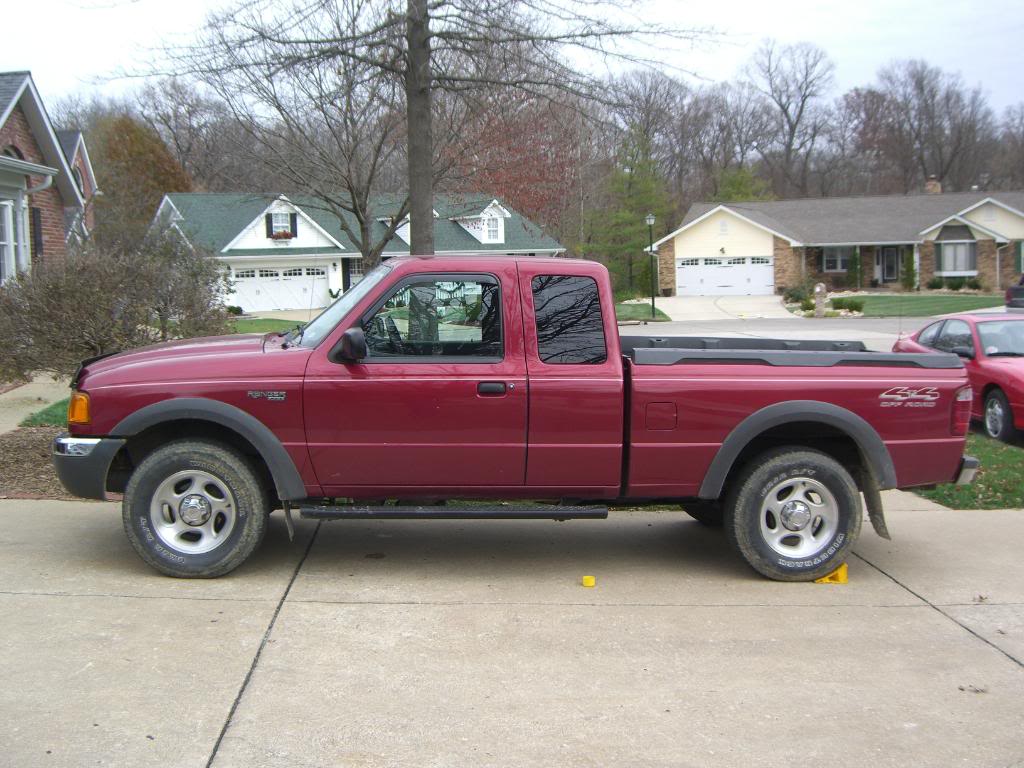
I did a small T-bar crank, about 1"
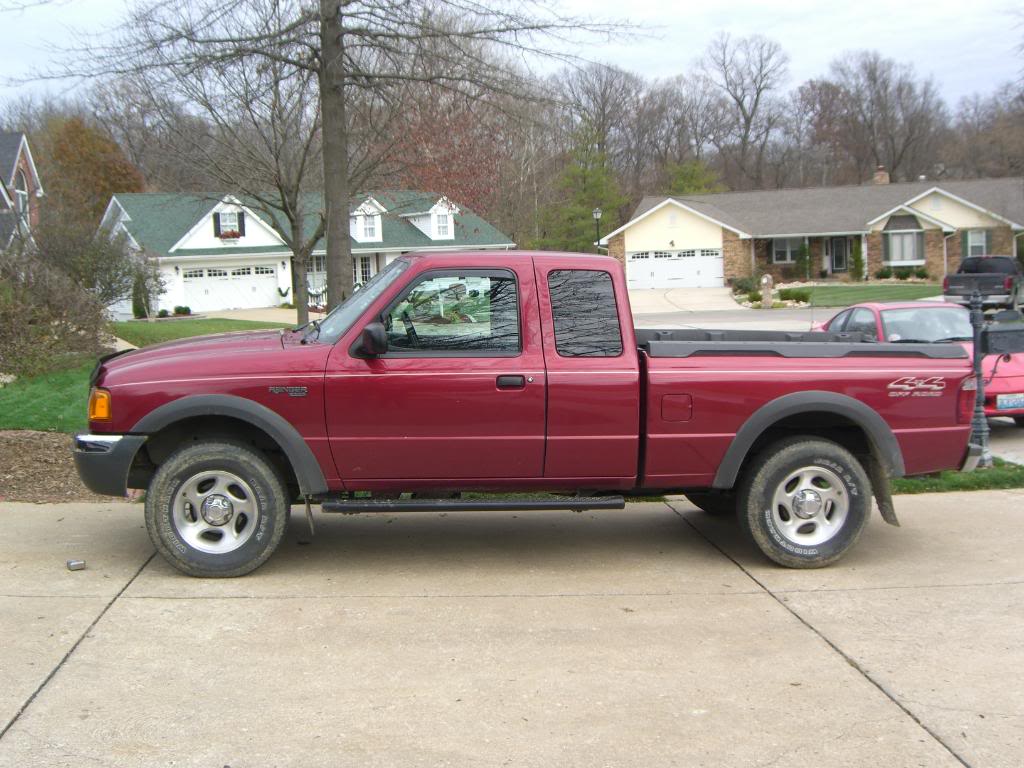
Cranked the T-bars another inch and added 6400 Beltech shackels for the rear. It lifted the rear about 1-3/4"
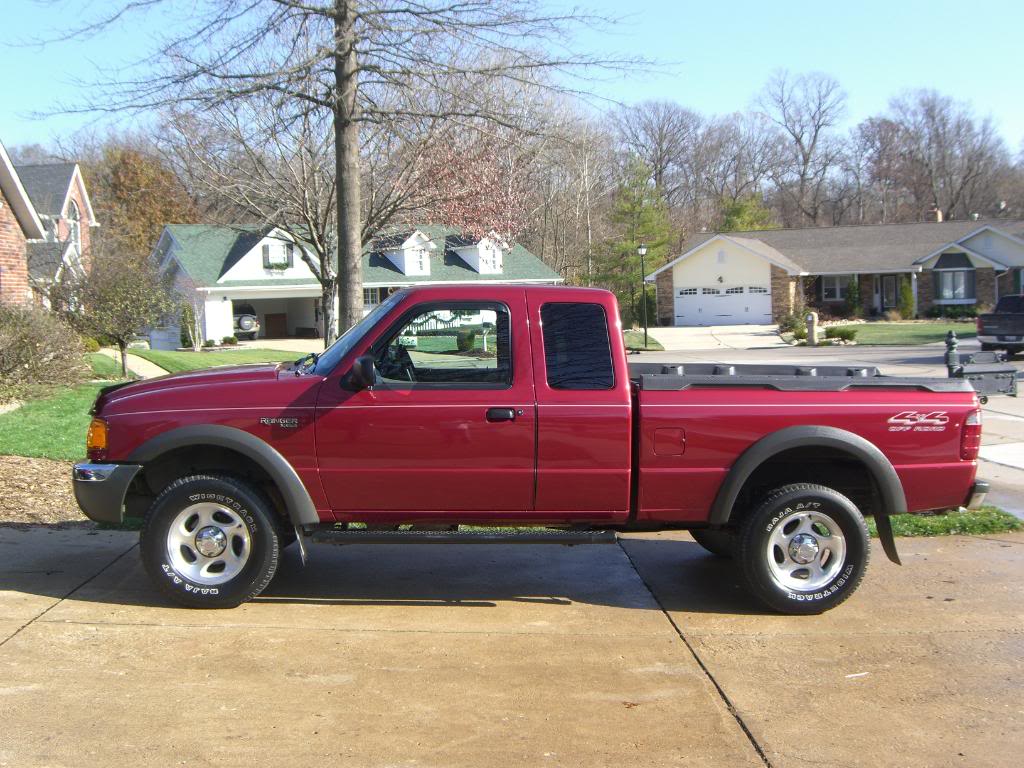
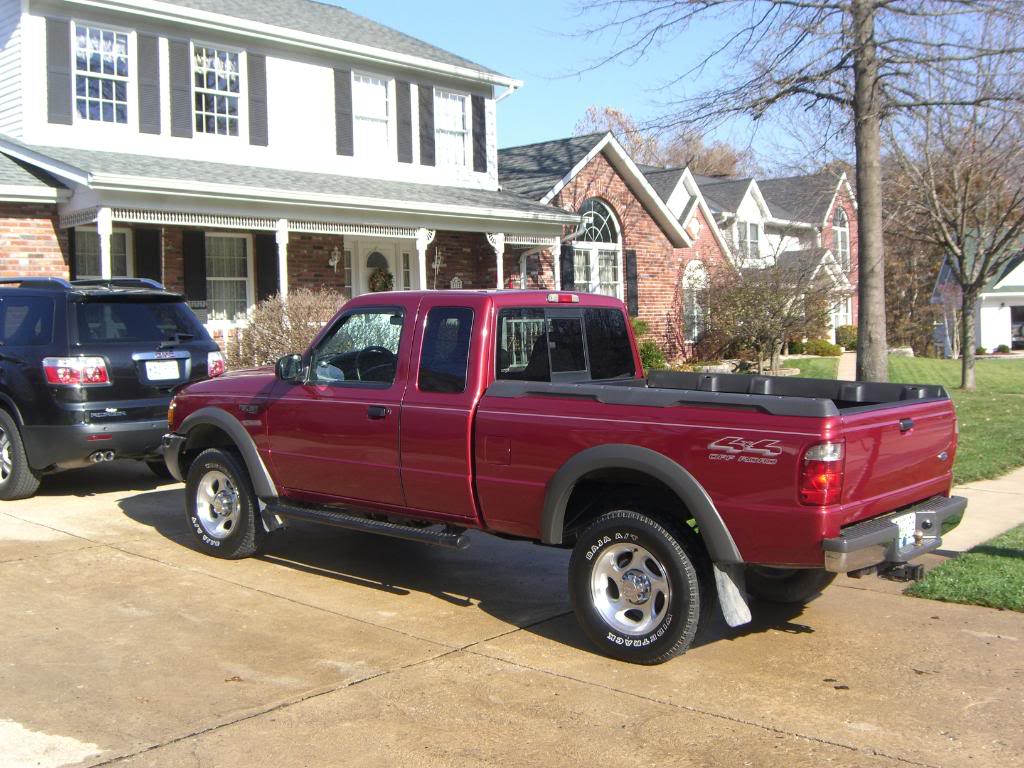
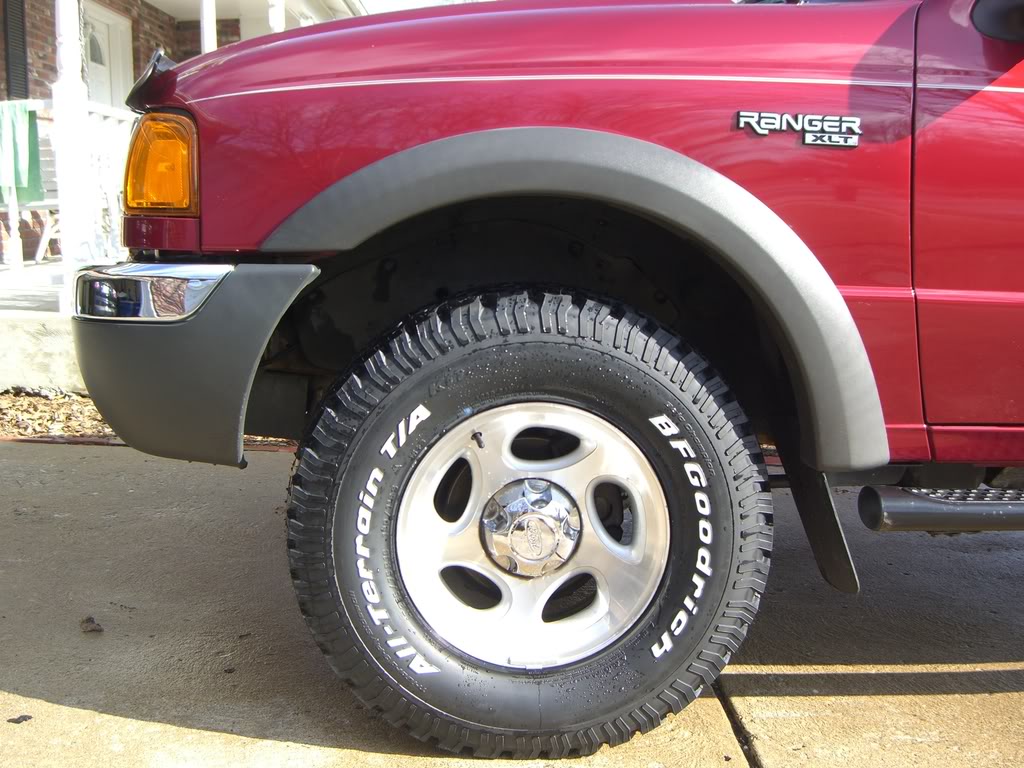
Next up I forked out way too much for some BFG A/T KO's ($1,000). They are 265/75/16 and look awesome. Also I maxed my #1 T-bars out.
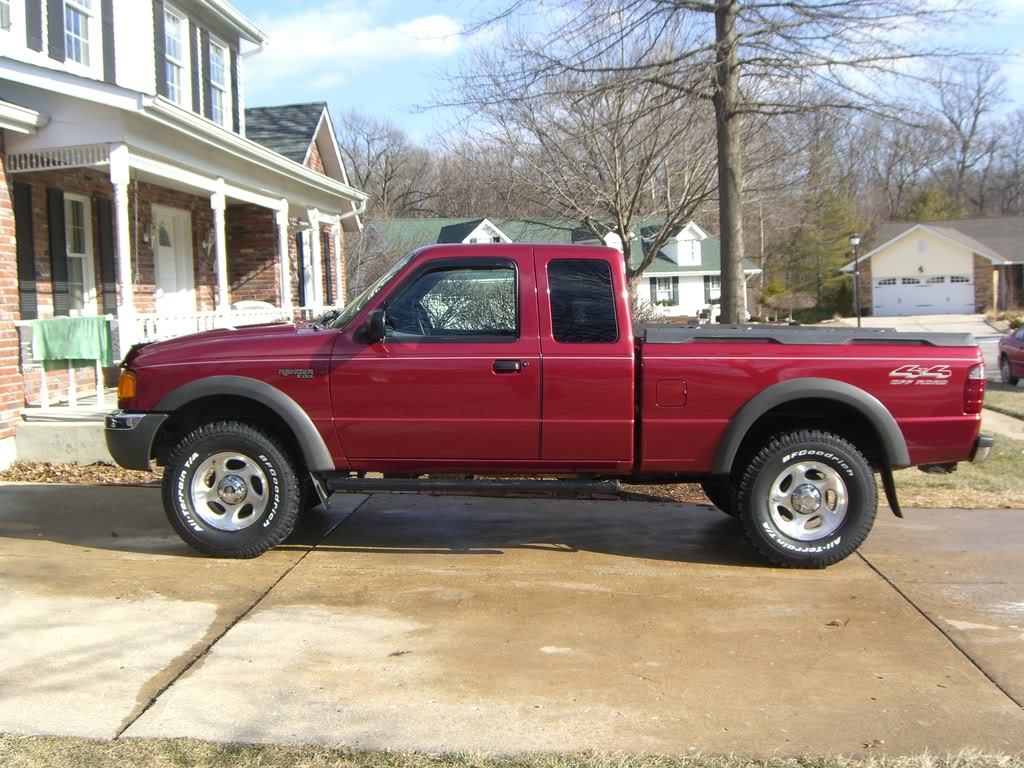
I hard wired my radar detector in.
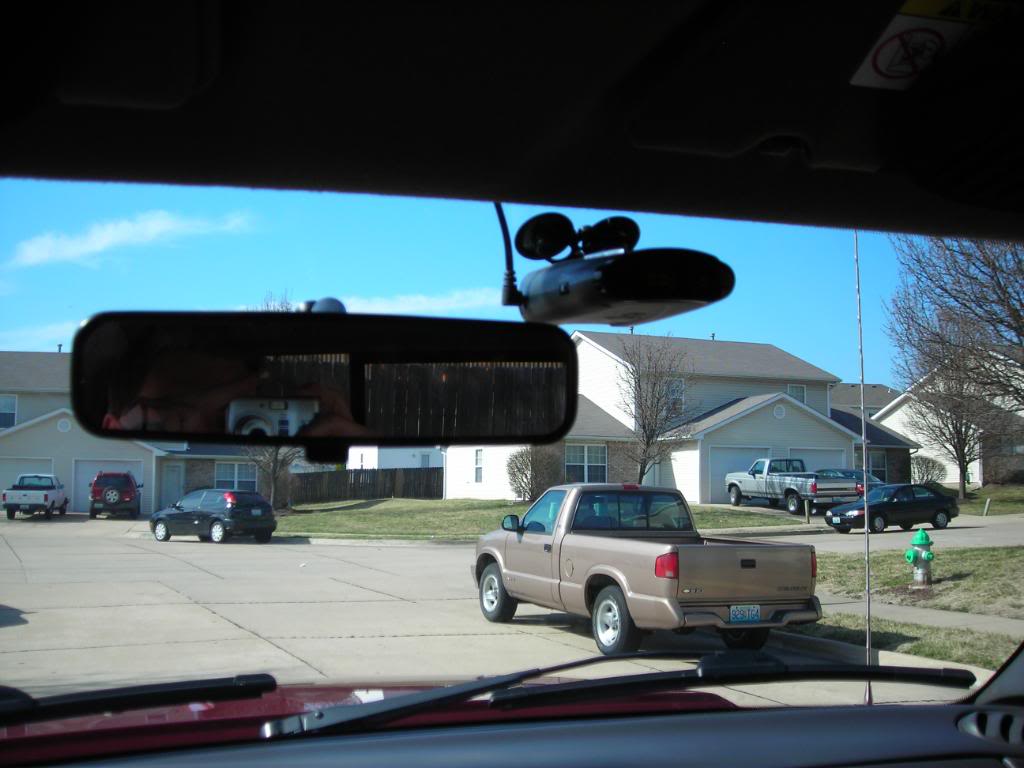
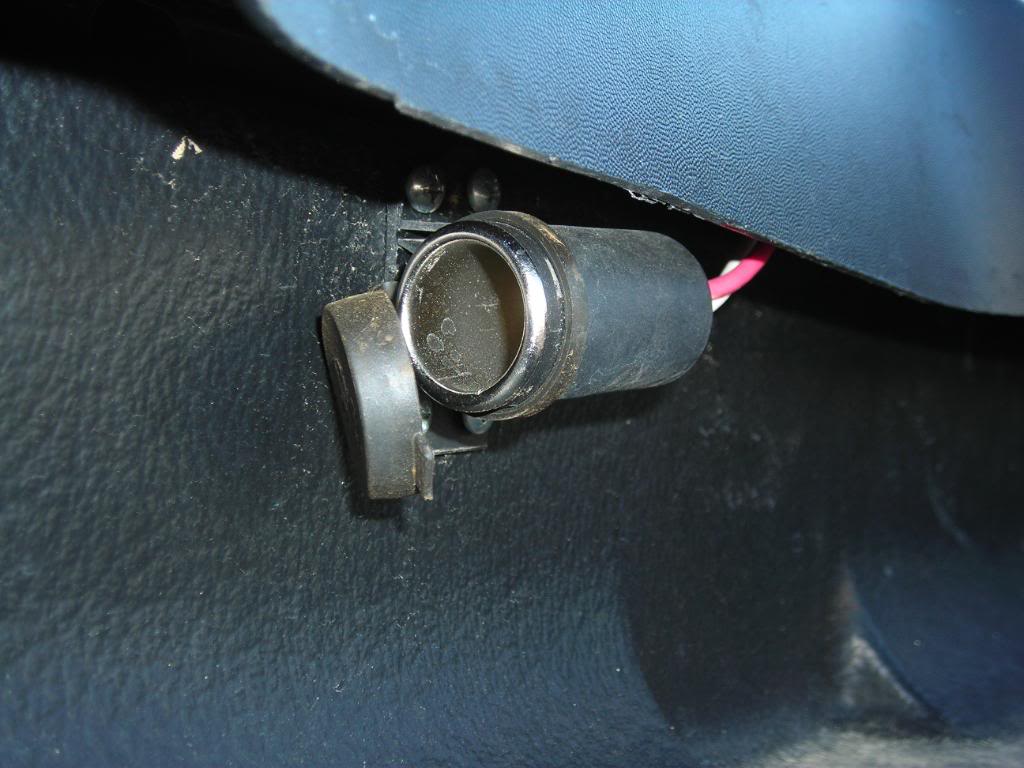
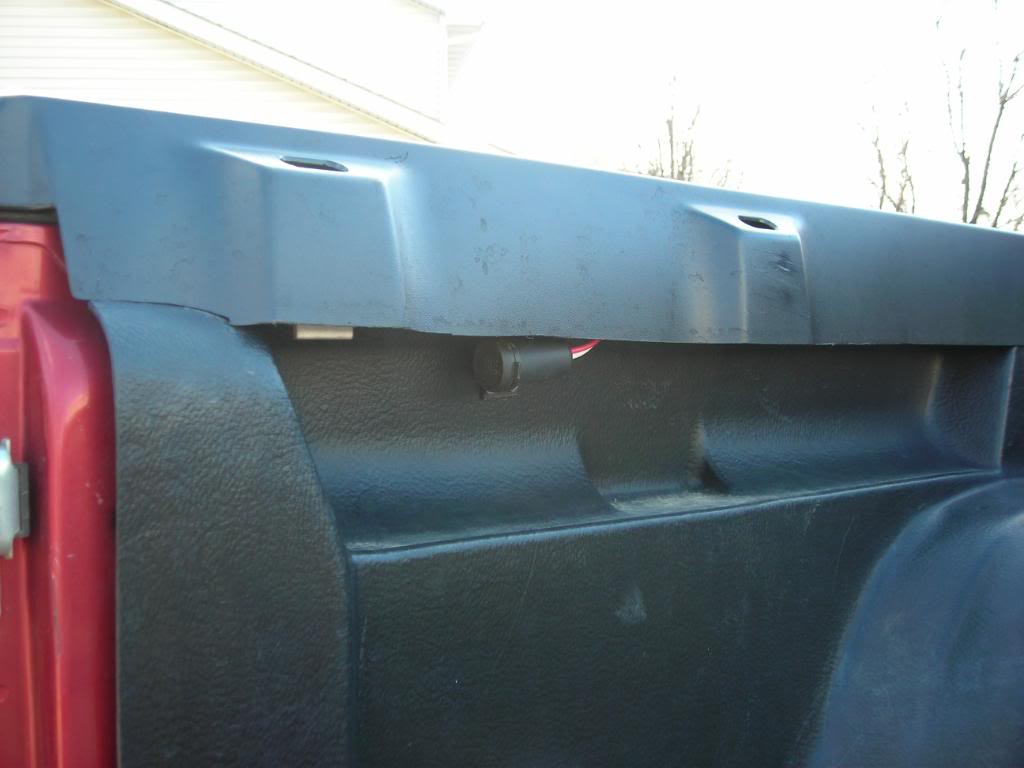
Put in a 12v power source in the bed.
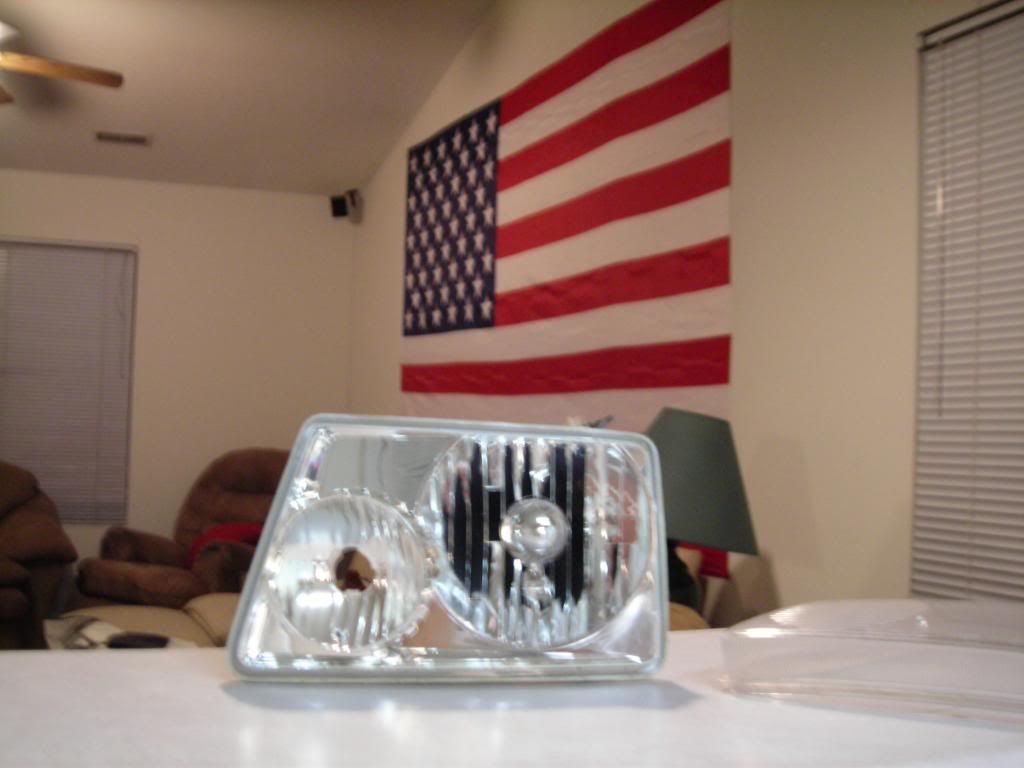
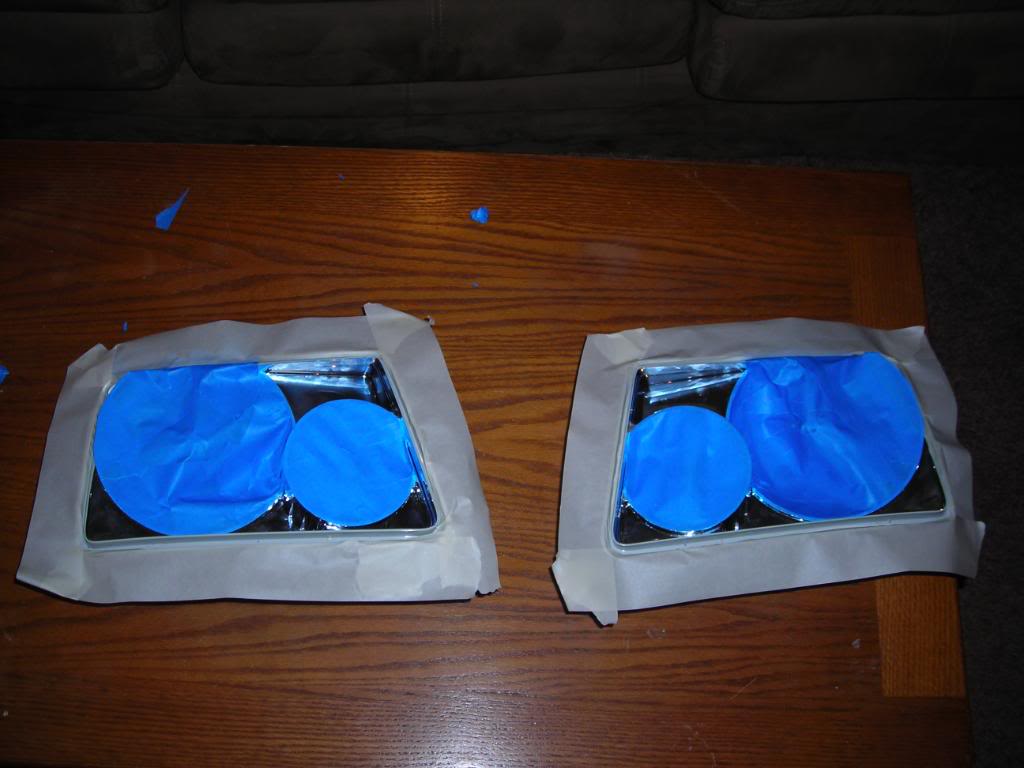
Painted the headlights. Baked them at 215 degrees for 12 mins I think. The pulled them apart and taped them off. Sprayed, sealed, and did some head light restorer. They really didn't need it but I figured why not, since they were off.
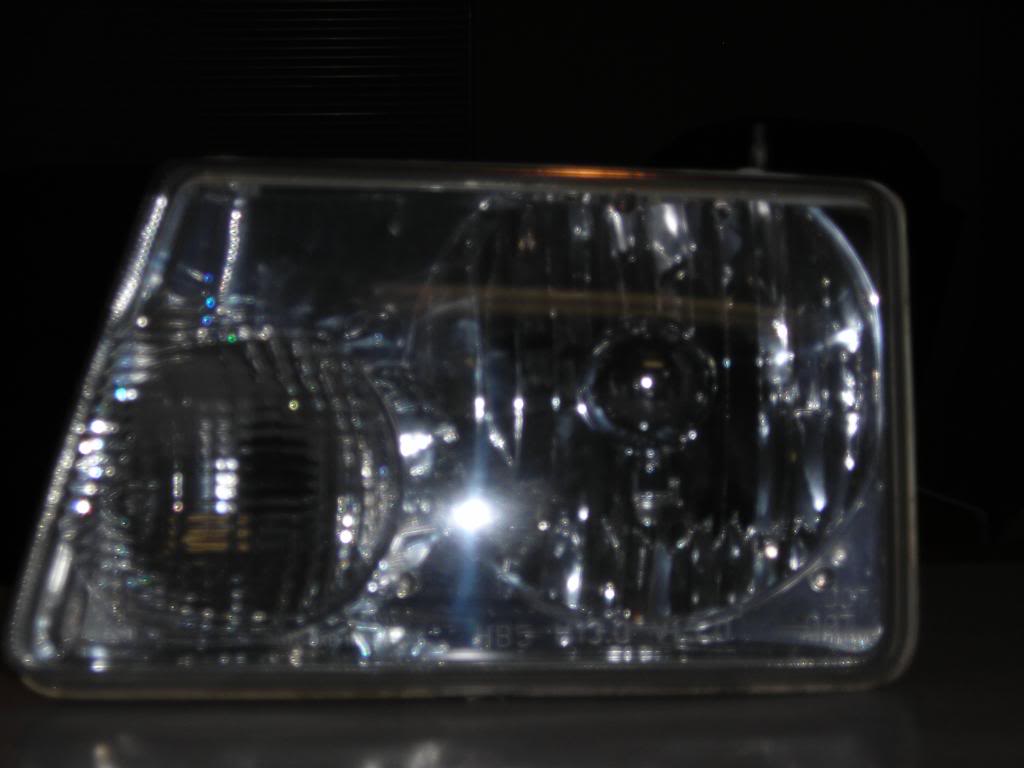
Before:
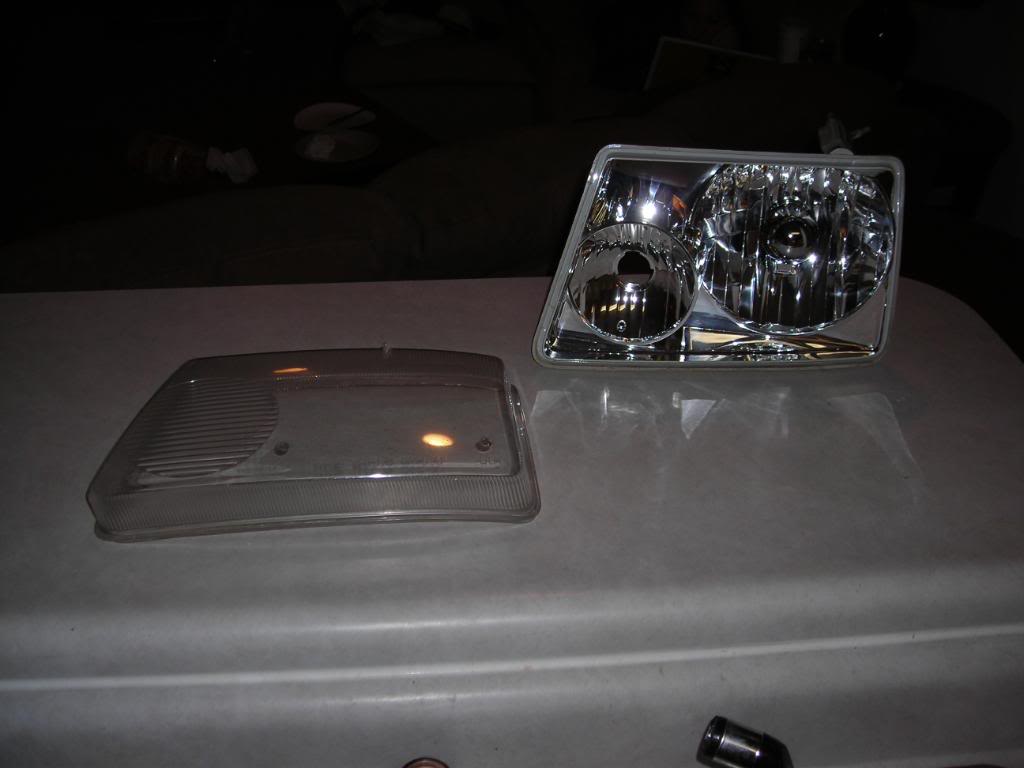
Baked, and Pulled apart:
Taped off and ready for paint. I used Krylon Fusion Satin
Finished and assembled
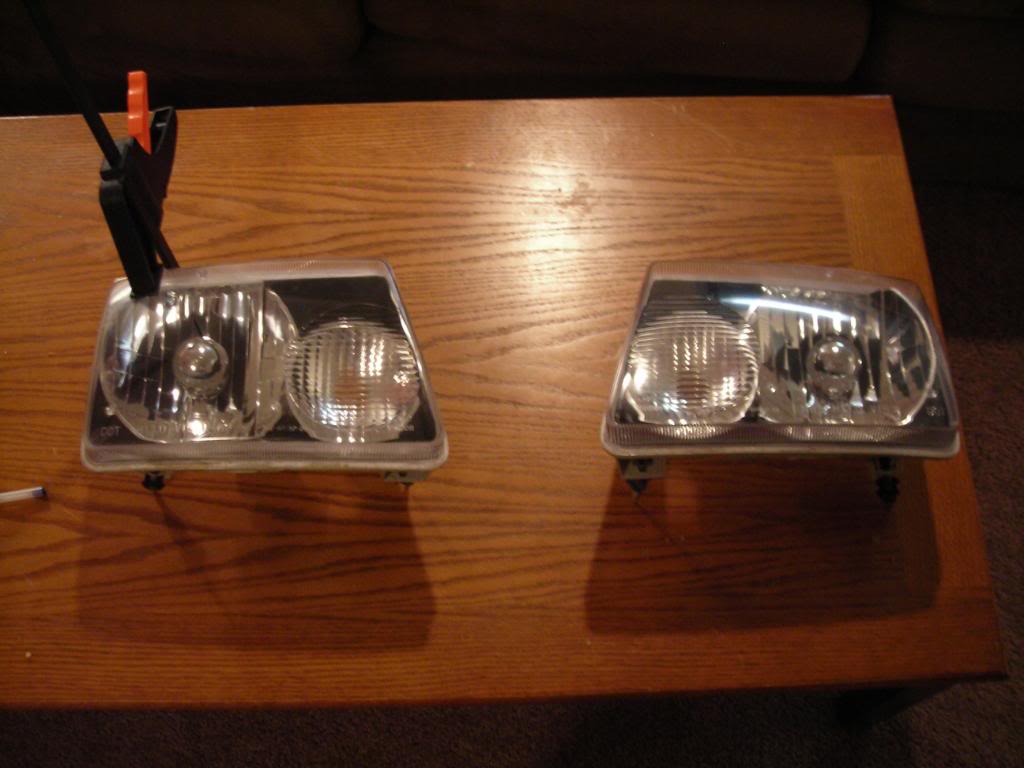
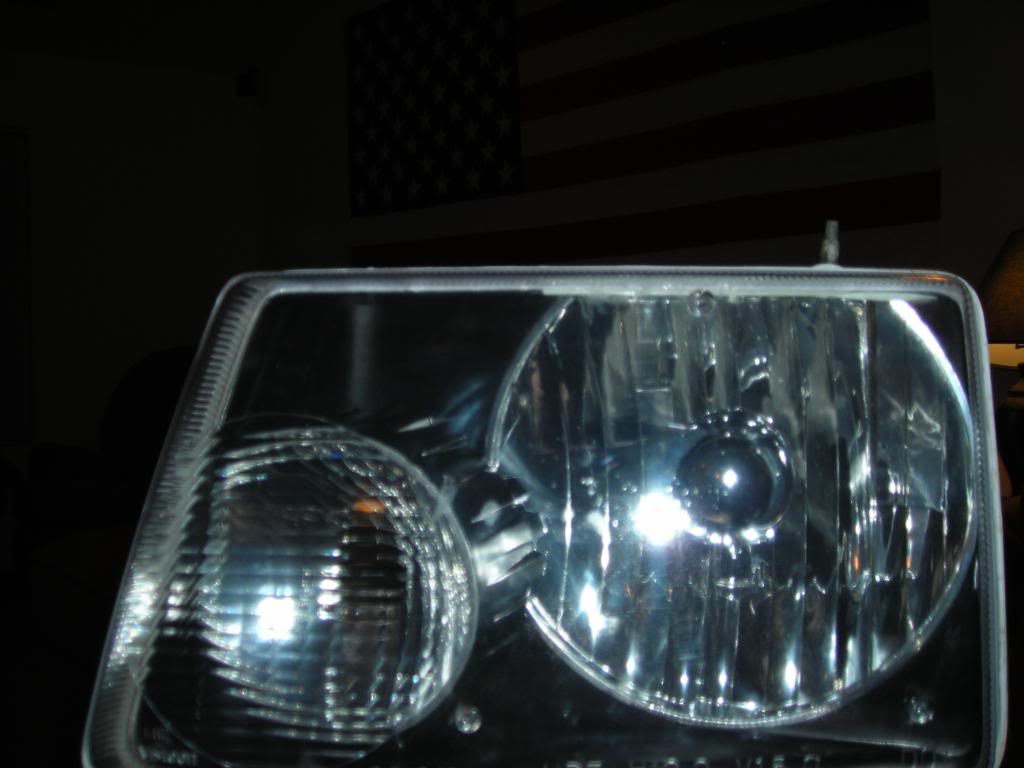
Installed
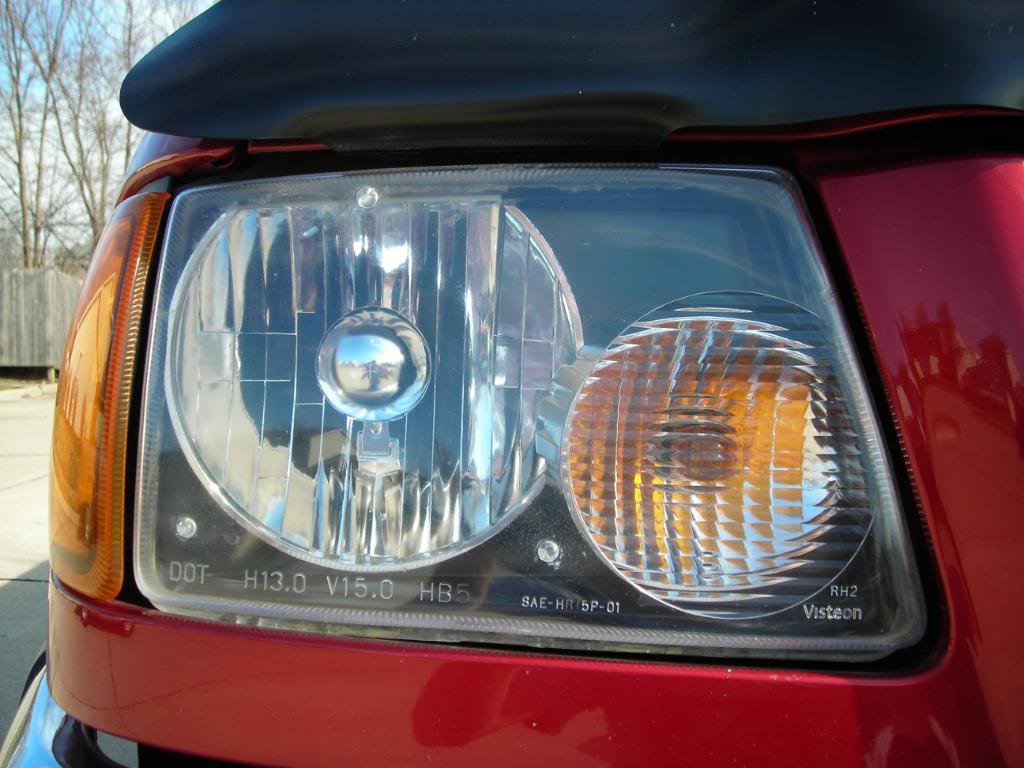
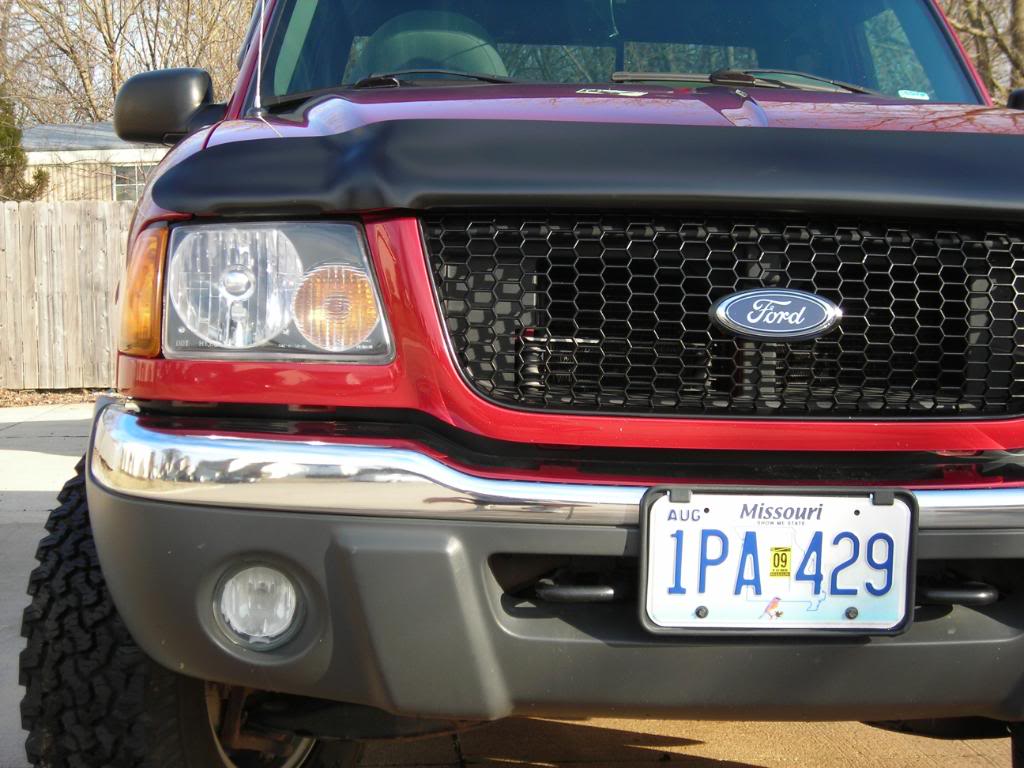
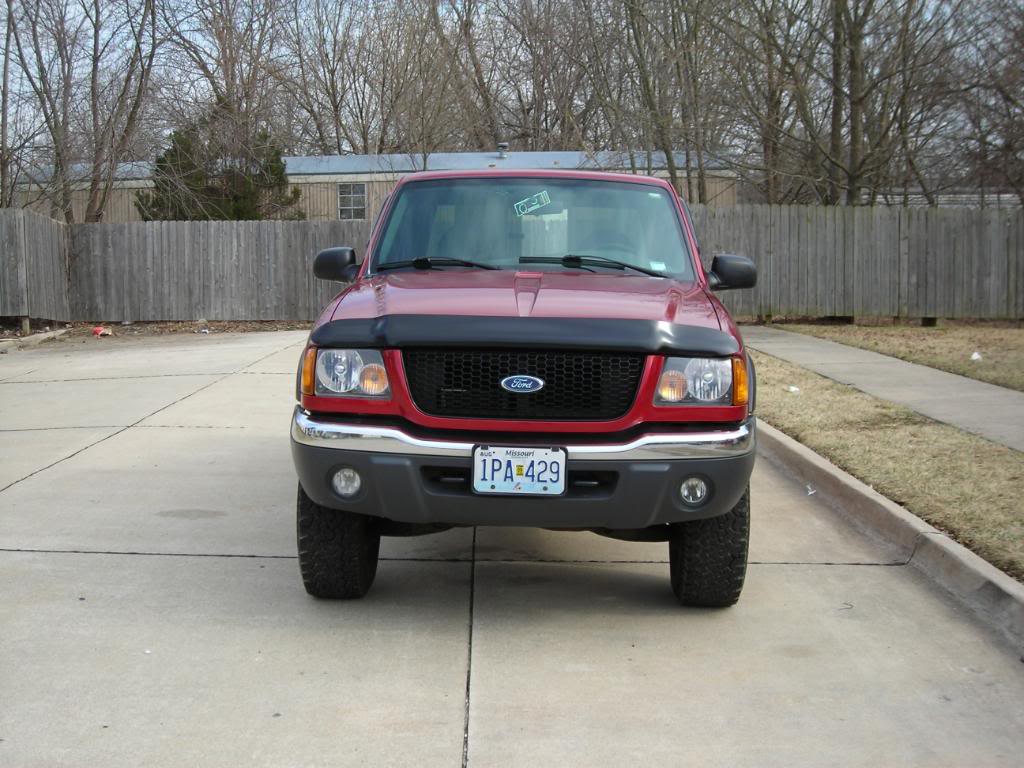
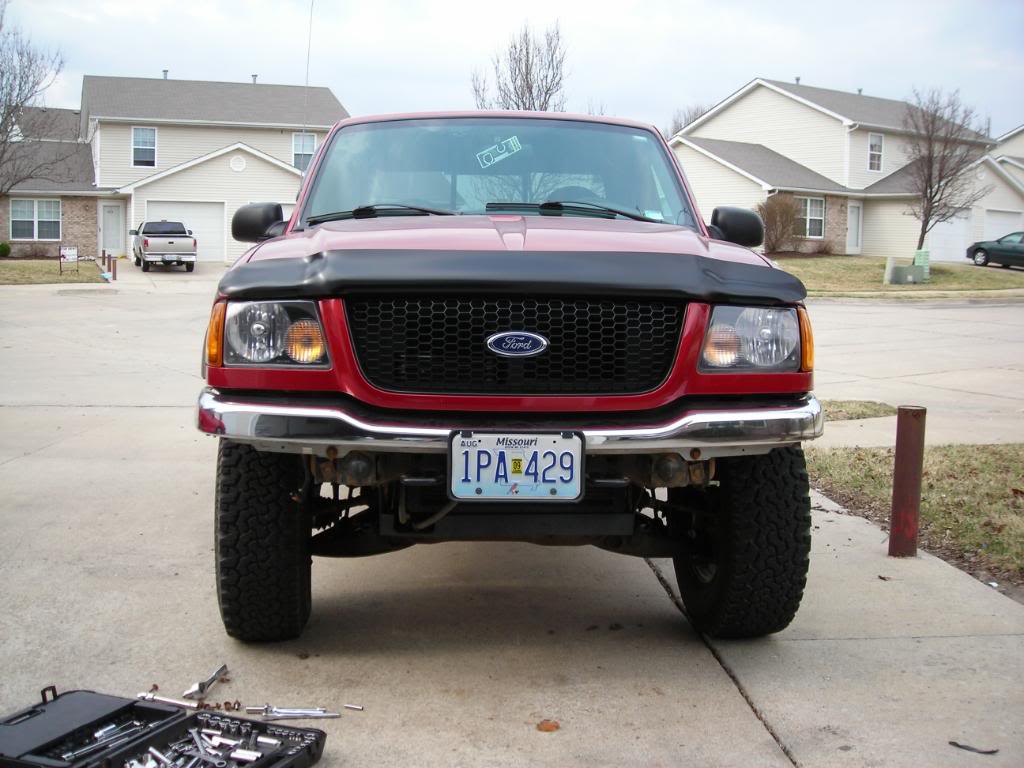
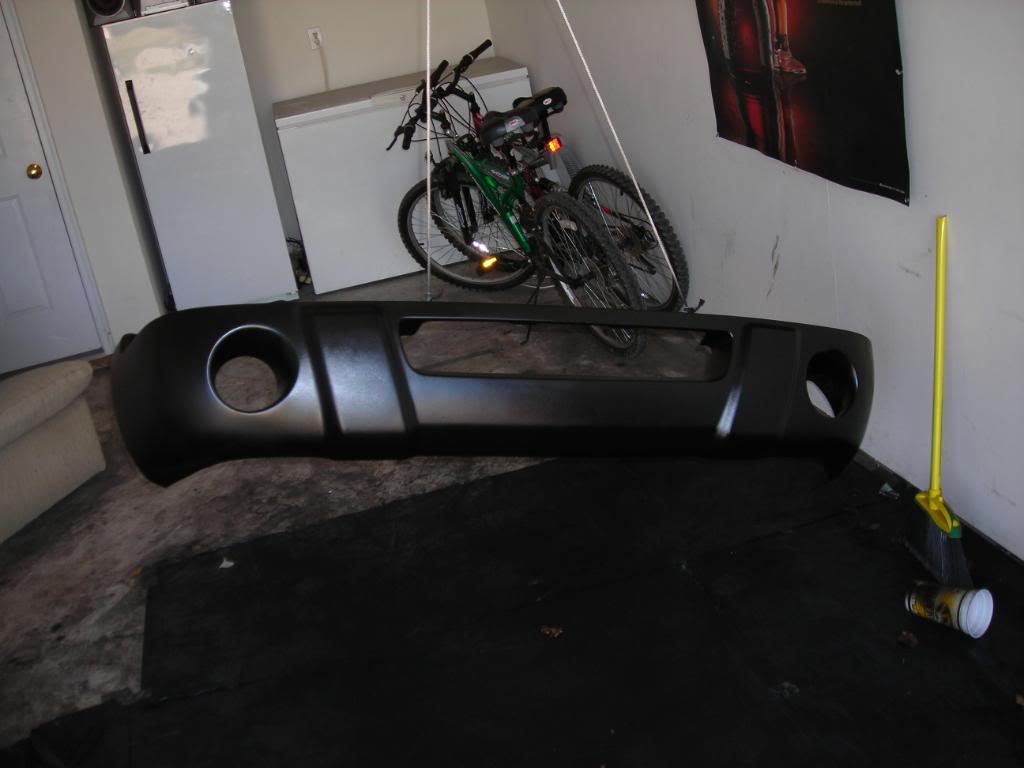
Next up I painted my front bumper, bed caps, fender flairs, and grill. Again using Krylon Fusion Satin
Removed the Flairs, they really didn't want to come off.

In the process of painting

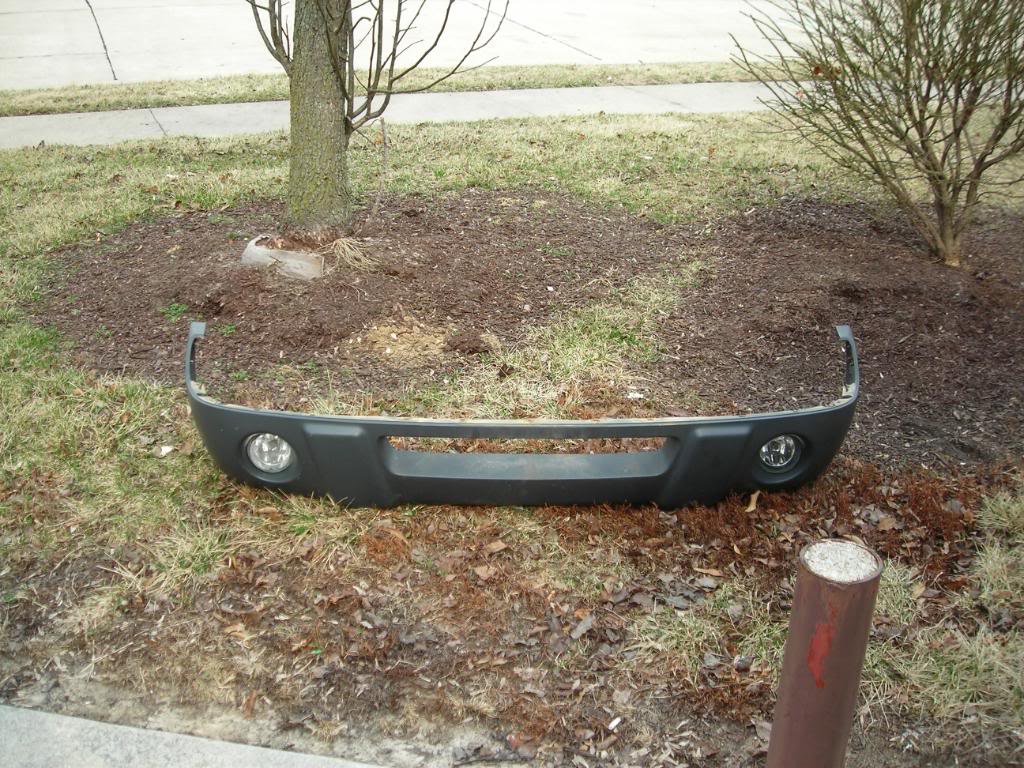
Bumper off for some paint
Cleaned up with some soap and water, then ammonia.
Its time to paint again
Bed caps done painting and ready to go on!

Now it's photo shoot time with everything on. I also removed my step bars since they were faded and a little rusty on one side. I plan on sanding and painting them, but I am still unsure if I will put them back on. I like the look of them off, but I like the protection from rocks that they provide.
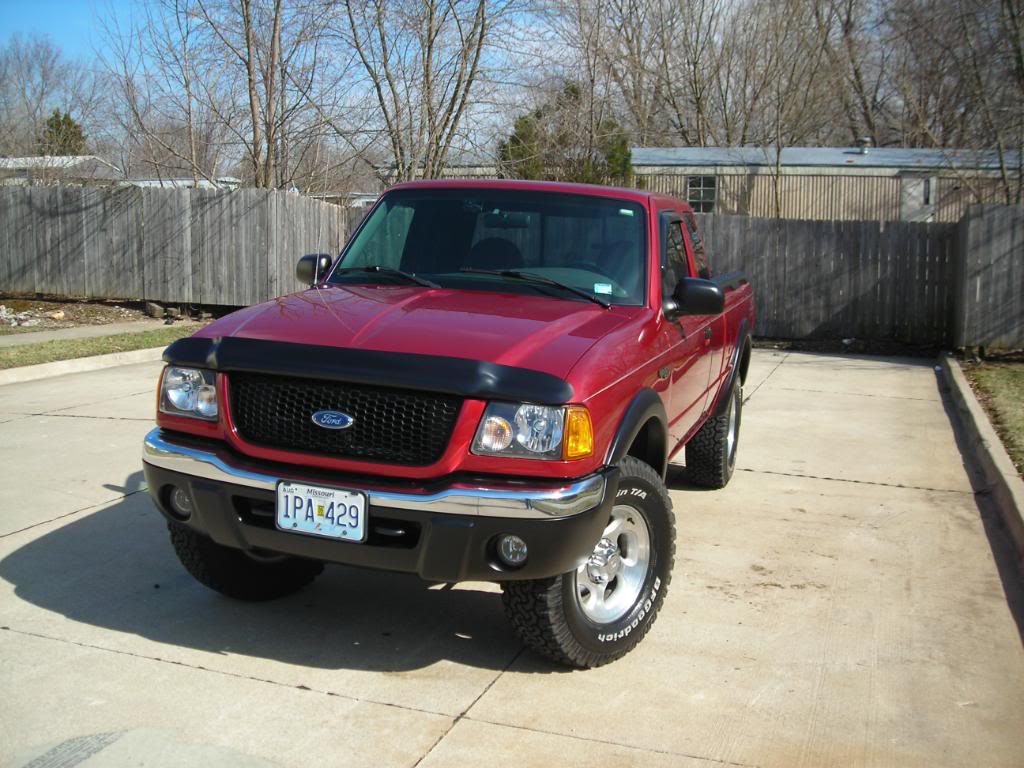
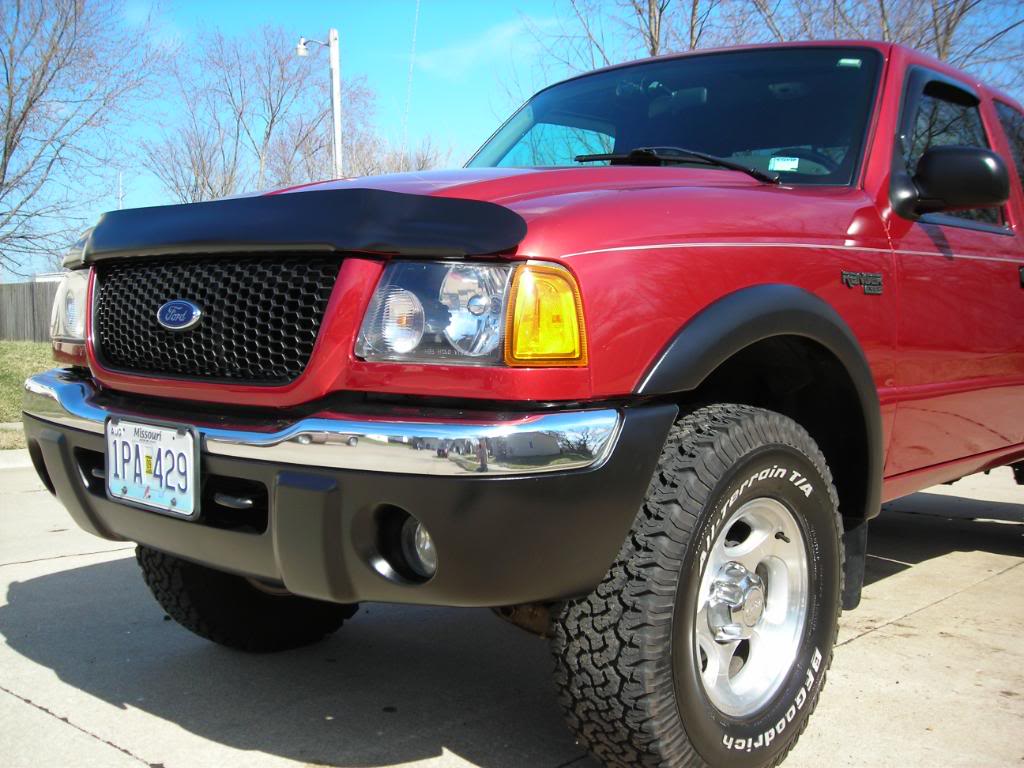
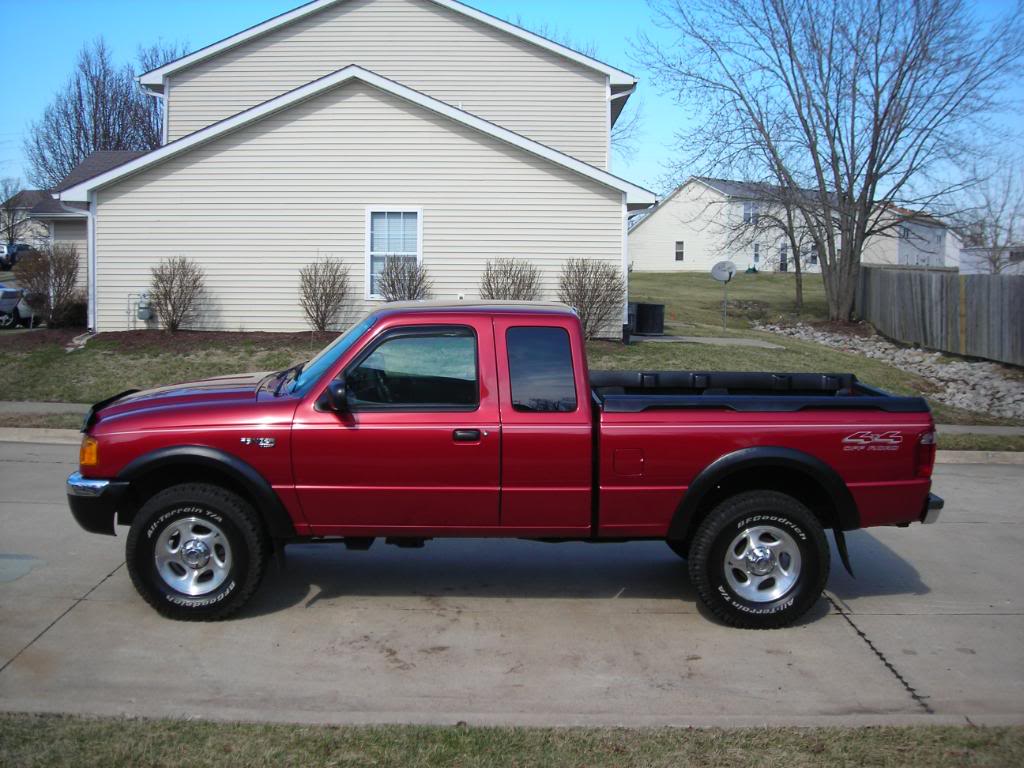
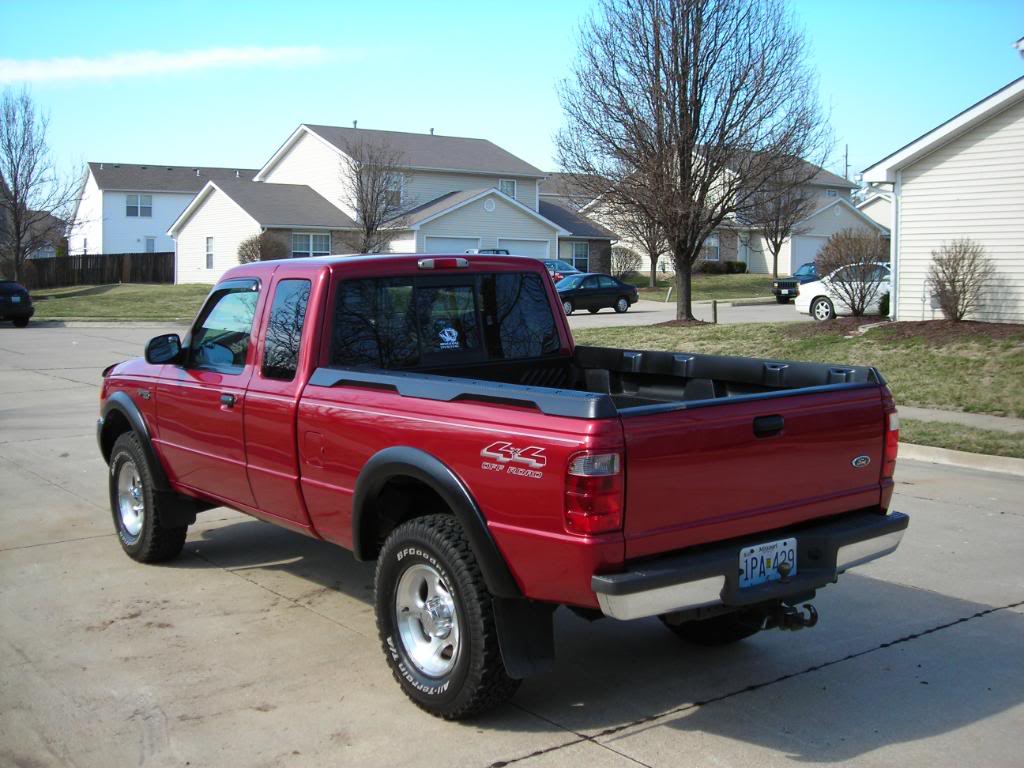
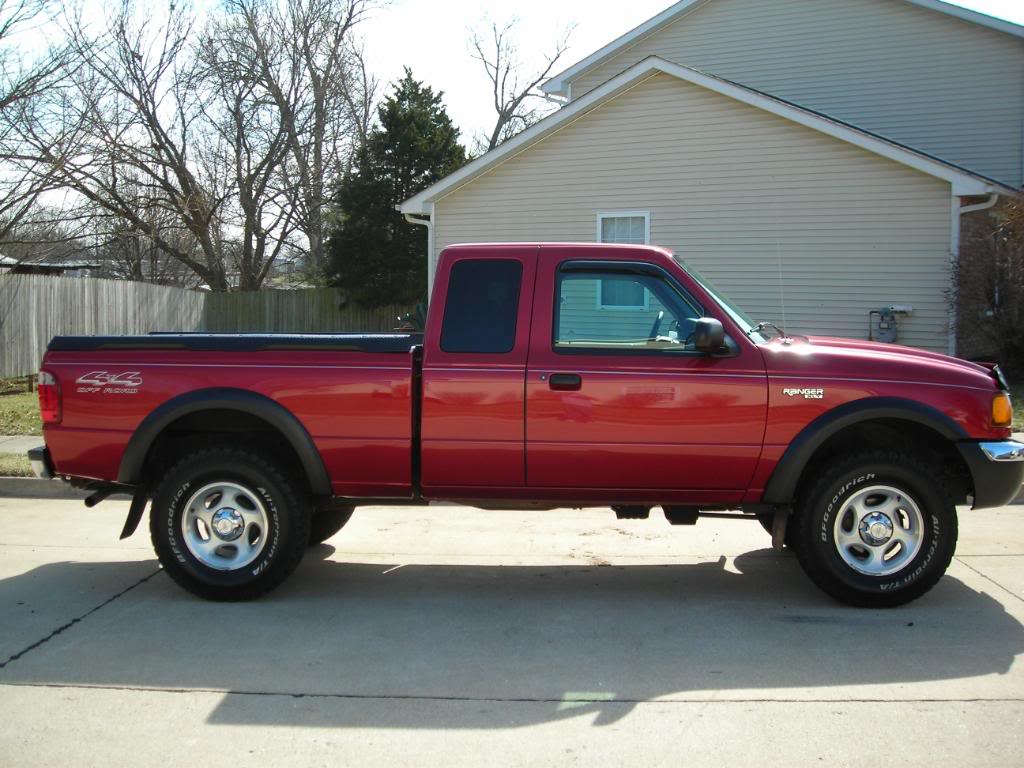
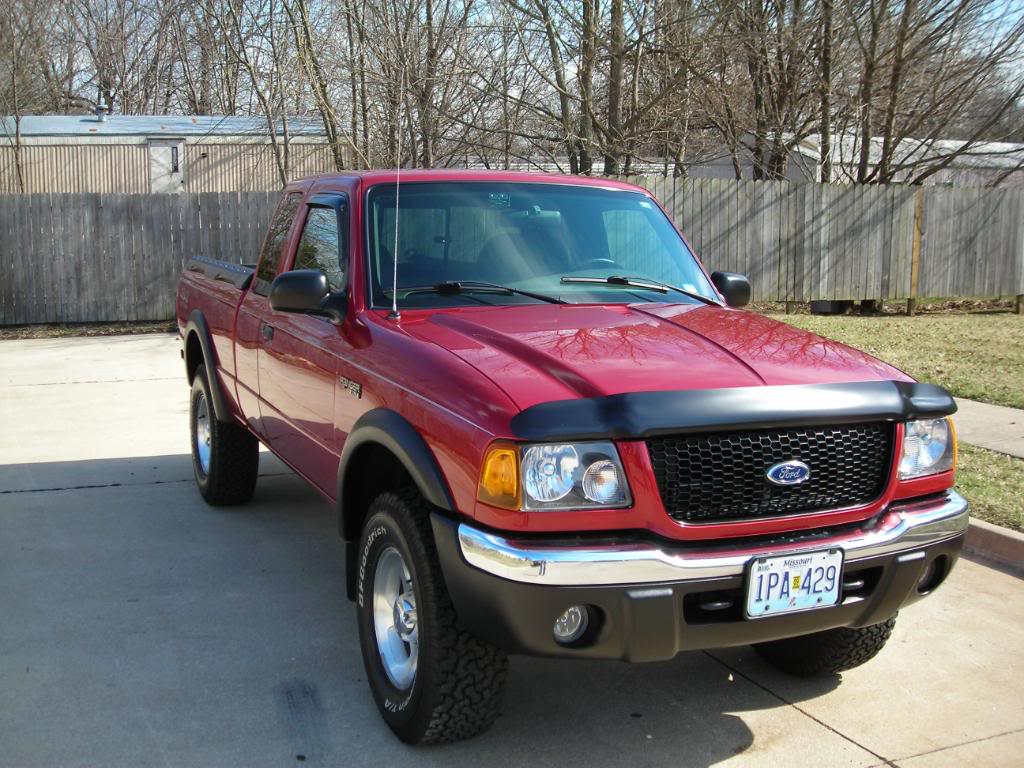

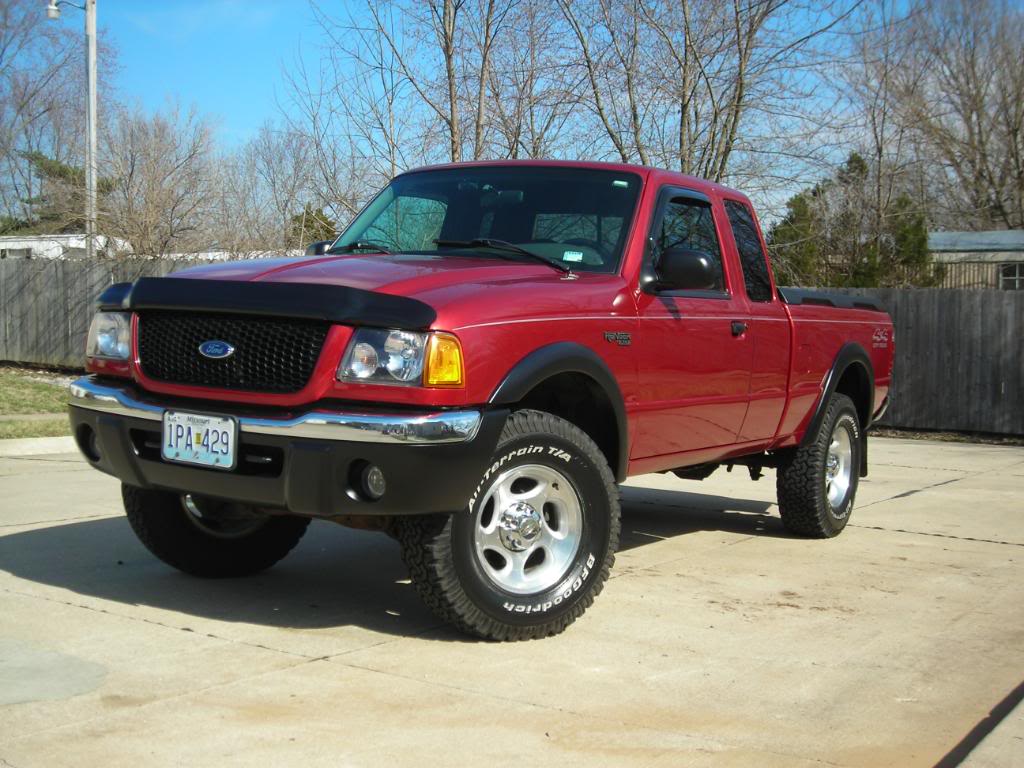
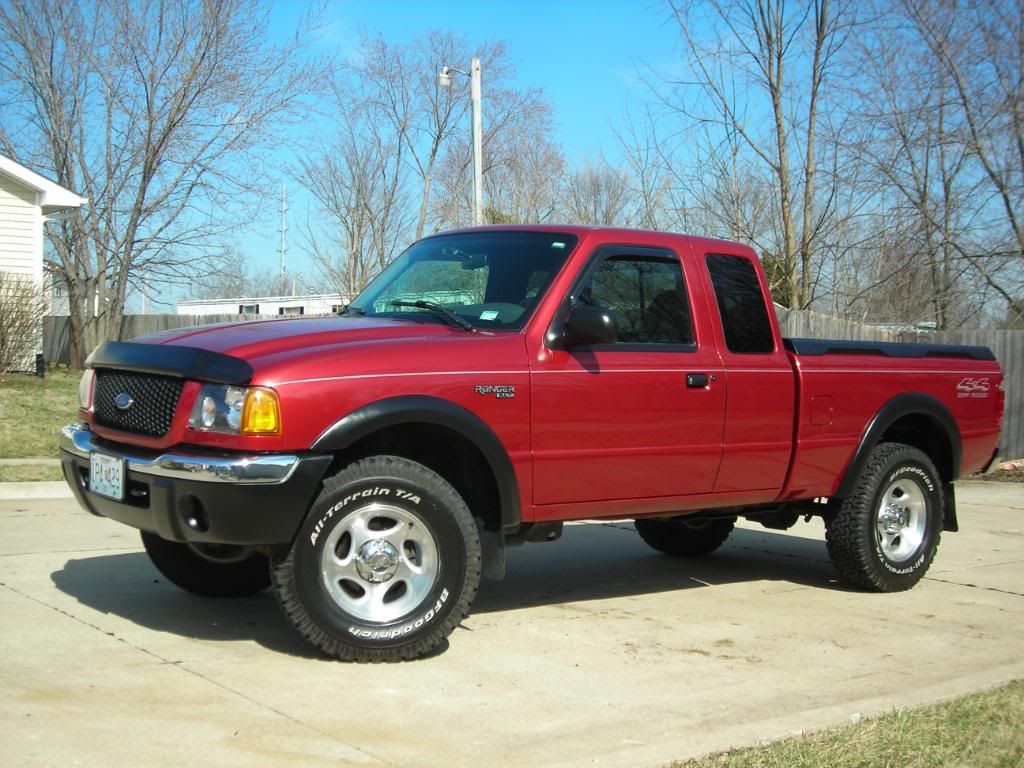
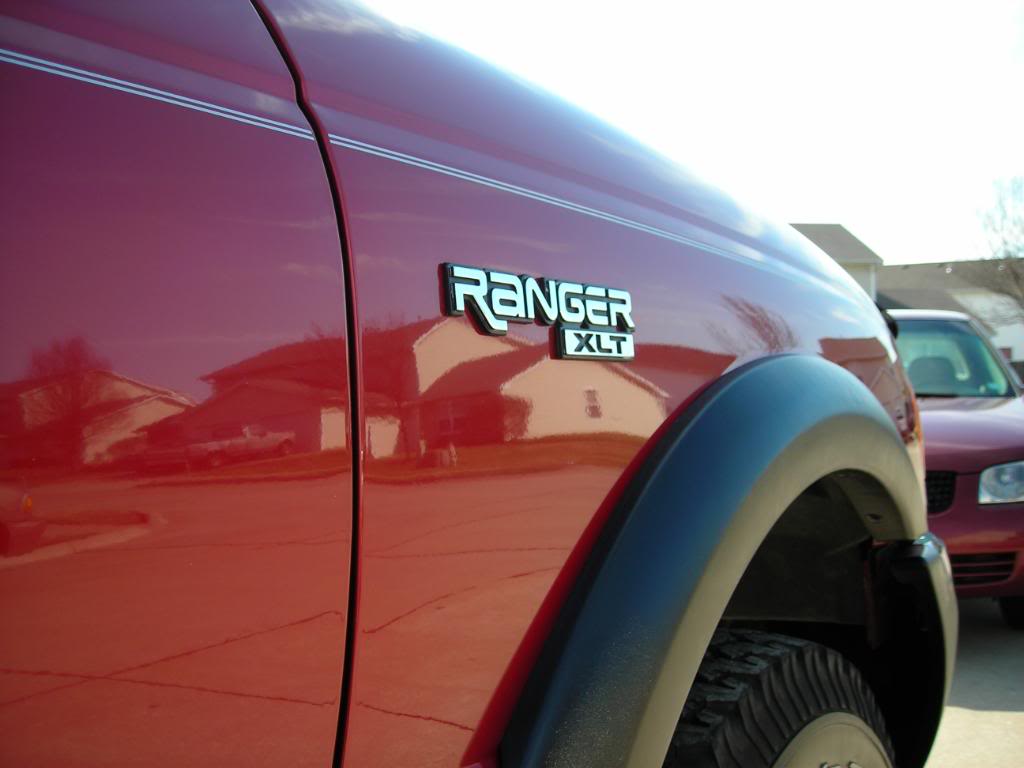
I also did the turn signal mod, the fog light mod, and put in some new door speakers, but I don't have and pictures of those.
Future:
Soon I am going to be putting in some back-up lights, some brake lights under the tail gate (the kind with the 3 red lights, like on trailers. I'm not sure what they are called), turn signals on the mirrors, and I really need to wax it. Also I have been tossing around the idea of some clear corners, and blacking them out to match the headlights. Some time soon I will be tinting the front windows to match the rear stock tint.
I purchased my 01 4x4 off-road 4.0l sohc ext cab in August of 2008 and was eager to personalize it.
To my knowledge, it came with every possible option. Which I was pretty excited about. And now for the picture story
Stock


I did a small T-bar crank, about 1"

Cranked the T-bars another inch and added 6400 Beltech shackels for the rear. It lifted the rear about 1-3/4"


Next up I forked out way too much for some BFG A/T KO's ($1,000). They are 265/75/16 and look awesome. Also I maxed my #1 T-bars out.


I hard wired my radar detector in.

Put in a 12v power source in the bed.


Painted the headlights. Baked them at 215 degrees for 12 mins I think. The pulled them apart and taped them off. Sprayed, sealed, and did some head light restorer. They really didn't need it but I figured why not, since they were off.
Before:

Baked, and Pulled apart:


Taped off and ready for paint. I used Krylon Fusion Satin

Finished and assembled


Installed


Next up I painted my front bumper, bed caps, fender flairs, and grill. Again using Krylon Fusion Satin
Removed the Flairs, they really didn't want to come off.


In the process of painting

Bumper off for some paint

Cleaned up with some soap and water, then ammonia.

Its time to paint again

Bed caps done painting and ready to go on!

Now it's photo shoot time with everything on. I also removed my step bars since they were faded and a little rusty on one side. I plan on sanding and painting them, but I am still unsure if I will put them back on. I like the look of them off, but I like the protection from rocks that they provide.


I also did the turn signal mod, the fog light mod, and put in some new door speakers, but I don't have and pictures of those.
Future:
Soon I am going to be putting in some back-up lights, some brake lights under the tail gate (the kind with the 3 red lights, like on trailers. I'm not sure what they are called), turn signals on the mirrors, and I really need to wax it. Also I have been tossing around the idea of some clear corners, and blacking them out to match the headlights. Some time soon I will be tinting the front windows to match the rear stock tint.
#10
I was thinking about losing the pin strip as well, but I am just worried about scratching the paint or having lines from where the paint is not faded.
Do you know if they come off pretty easy?
#11
Also I got A/T's because I do a fair amount of hwy driving and I didnt want the mud tire humm. Plus most of my driving is on road, so I chose the longevity of an A/T
#12
#14
#15
haha welcome to the club, i was going to leave my truck stock and not do anything to it until the warranty was up/it was paid off. year and a half later, its lifted, new rims, over sized tires, sound system, and on and on, once you start, you can't stop haha
truck looks awesome, its amazing what a bit of paint can do as far as those plastic exterior pieces look, makes the truck look brand new!
#16
#20


