FULLSCALE's 1968 Mustang Coupe
#1
Joined: Mar 2009
Posts: 8,184
Likes: 4
From: Clinton, Ontario

FULLSCALE's 1968 Mustang Coupe
Figured I'd post this up here.... hopefully someone finds it interesting!
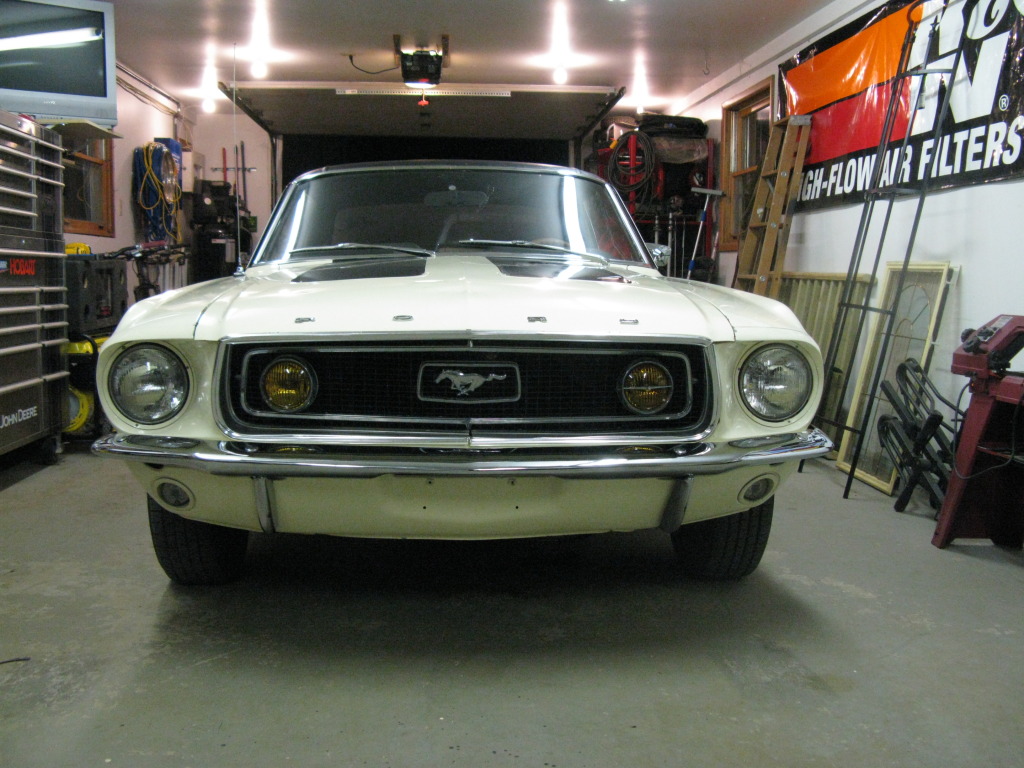
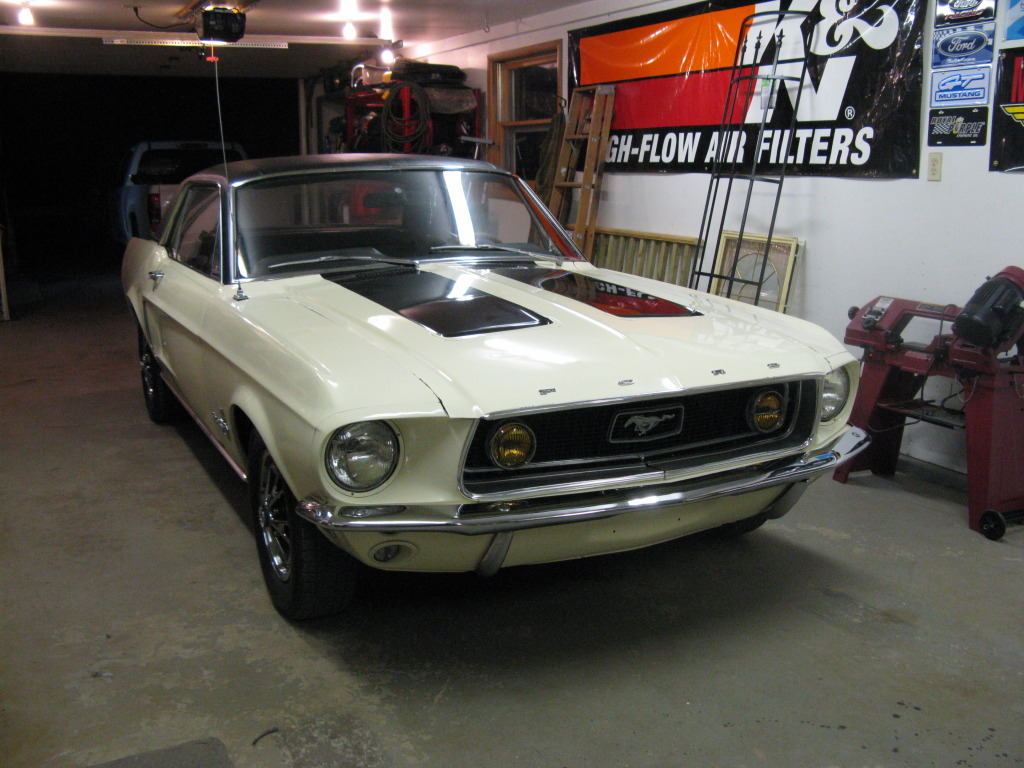
After I sold my '07 Level II back in July I had been looking for a classic Mustang. I looked for a month and didn't come up with much. I ended up buying a '94 GT (same colour, year and a lot of the same mods as my old '94 GT). I drove it 2.5 hours home and had already decided by the time I got home that I didn't want it so the next day I put it back up for sale. To make a long story short 12 days later I traded the '94, added some cash and brought home this 1968 Mustang Coupe.
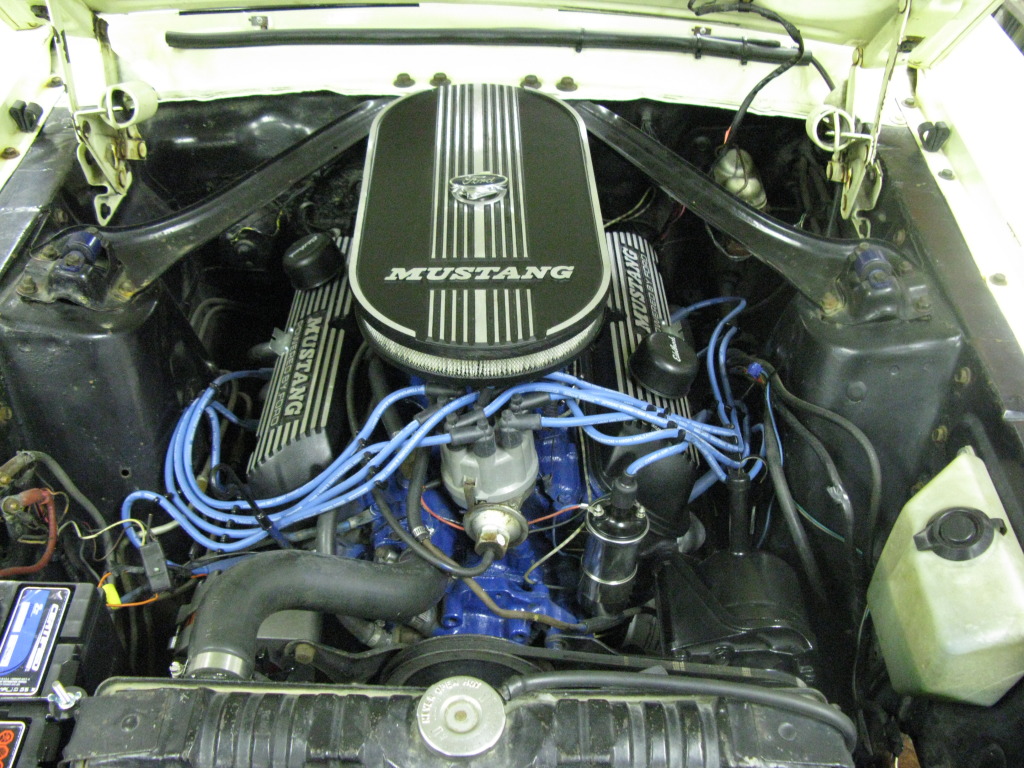
The car was originally a 200ci 6cyl manual transmission car, but sometime in the last 45 years or so a 302 V8 and a C4 auto trans has found it's way into the car.
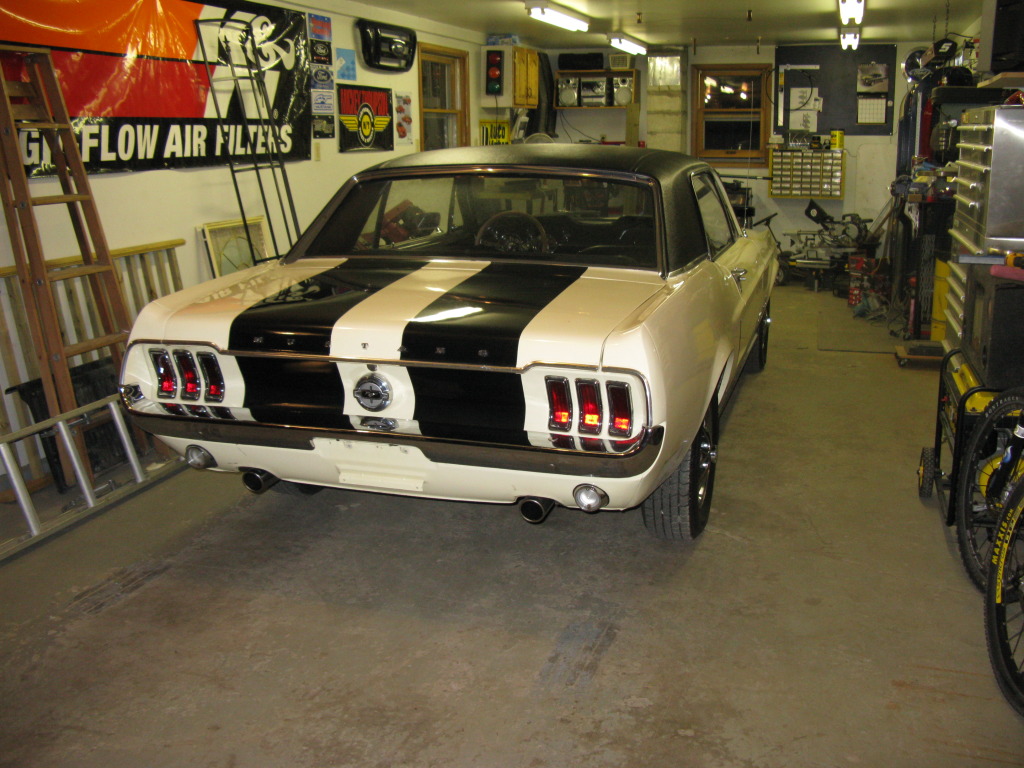
The car was originally blue, but is currently an off-white colour. When it's on it's own the car looks white but when I park my Mazda beside it looks yellow.
The night I brought it home:


#2
Joined: Mar 2009
Posts: 8,184
Likes: 4
From: Clinton, Ontario

The previous owner only had the car for two months but he poured TONS of money into the car.
- new air cleaner and matching valve covers
- rebuilt power steering pump/cylinder/hoses
- rebuilt alternator
- new Grant steering wheel
- new Pertronix Ignitor electronic ignition
- new Moroso wires
- new ignition coil
- new ceramic coated long tube headers
- new Flowmaster American Thunder stainless steel exhaust system
- new fuel tank
- new battery
- brand new set of tires
What I've done so far:
- black curved Monte Carlo bar
- new Champion aluminum radiator
- changed out yellow grille lights to clear
- replaced incandescent headlights with halogen Sylvania Xtravision lights
- new battery/starter/ground cables and cleaned up some other wiring
- new battery tray
- new thermostat/hoses
- new heater core
- rebuilt heater box with all new seals and new plenum
- fixed the radio and speakers
- fixed the speedometer cable
- new headlight switch
- wired new lights for gauges under dash
- bought matching mirror for passenger side (not installed yet)
- bought new headliner (not installed yet)
Last edited by FULLSCALE; 12-09-2012 at 08:37 PM.
#3
Joined: Mar 2009
Posts: 8,184
Likes: 4
From: Clinton, Ontario

The car is stored now for the winter so my first task is upgrading the brakes and axle. The car still has the manual 9" drums on all four corners along with the tiny 7-ish" open rear end and 4 bolt wheels!
To fix this I'm putting 2005 Mustang GT brakes (dual piston calipers and 12.5" rotors) on the front and a 1994 Mustang GT 8.8 rear axle with 10" disc brakes. I will probably be using a 2000 or so V6 Mustang aluminum master cylinder with a foxbody Mustang 5.0L booster.
Front brake size comparison:

Rear brake size comparison:

Obviously I need new wheels going from 4 lug to 5 lug so yesterday I picked up a set of 2002 Mustang GT 17x8" Bullitt wheels that had been painted black. They came with a set of pretty much new Cooper Zeon 245/45R17 tires and a pair of Eibach 30mm wheel spacers. Not bad for $400, considering those spacers new are nearly half that! The spacers need to be used on the front to correct the difference in backspacing between the new wheels and the old ones so the inside will clear the upper ball joint/control arm. The rear should pretty much match the front because my new 8.8 is wider than the stock axle.
Bullitts compared to the stock 14x6" steel wheels w/hub caps:

Width comparison:

12.5" rotors fill the 17" wheels nicely:

New rotor doesn't even really fit inside the stock wheels:

To fix this I'm putting 2005 Mustang GT brakes (dual piston calipers and 12.5" rotors) on the front and a 1994 Mustang GT 8.8 rear axle with 10" disc brakes. I will probably be using a 2000 or so V6 Mustang aluminum master cylinder with a foxbody Mustang 5.0L booster.
Front brake size comparison:

Rear brake size comparison:

Obviously I need new wheels going from 4 lug to 5 lug so yesterday I picked up a set of 2002 Mustang GT 17x8" Bullitt wheels that had been painted black. They came with a set of pretty much new Cooper Zeon 245/45R17 tires and a pair of Eibach 30mm wheel spacers. Not bad for $400, considering those spacers new are nearly half that! The spacers need to be used on the front to correct the difference in backspacing between the new wheels and the old ones so the inside will clear the upper ball joint/control arm. The rear should pretty much match the front because my new 8.8 is wider than the stock axle.
Bullitts compared to the stock 14x6" steel wheels w/hub caps:

Width comparison:

12.5" rotors fill the 17" wheels nicely:

New rotor doesn't even really fit inside the stock wheels:

#4
Joined: Mar 2009
Posts: 8,184
Likes: 4
From: Clinton, Ontario

My goal is to update the car, at the same time making it safer and more reliable. I'm using as many newer Mustang parts as possible while doing it.
I have a ton of work ahead of me as I plan on having the car repainted this spring... not sure it'll happen that soon but I'm hoping it does! Keeping with the newer Mustang theme as of now, the colour will be Deep Impact Blue - a new colour on 2013 Mustangs.
This winter's projects:
- Finish the brake swap
- Clean up the entire underside of the car
- Replace driver's side floor pan and probably the passenger side too
- Replace the passenger side torque box
- Build my own subframe connectors out of 2" square tubing
- Clean up the rest of the wiring
- Clean up and repaint the engine bay
I can't see all of this getting done over the next 4 months but you never know!
#5
Joined: Mar 2009
Posts: 8,184
Likes: 4
From: Clinton, Ontario

I got the old rear end out tonight along with the tailpipes and leaf springs. I started to scrape the 45 years of undercoat and everything else off the bottom of the car... going to be a long, tedious job!
The stock rear in the car is pretty sad... it's light enough to easily pick it up and carry it on my own.
The stock rear in the car is pretty sad... it's light enough to easily pick it up and carry it on my own.
#7
#8
Joined: Mar 2009
Posts: 8,184
Likes: 4
From: Clinton, Ontario

Thanks Kyle... I'll try and keep this updated as I go!
Anyone have any ideas for some hidden reverse lights? I'm going to shave the big chrome ones off of it to clean the back end up a bit. I've found a few online that look like bumper bolts but have small leds in them... they're more for marker lights than reverse though so they won't project as much light.
Anyone have any ideas for some hidden reverse lights? I'm going to shave the big chrome ones off of it to clean the back end up a bit. I've found a few online that look like bumper bolts but have small leds in them... they're more for marker lights than reverse though so they won't project as much light.
#9
Thanks Kyle... I'll try and keep this updated as I go!
Anyone have any ideas for some hidden reverse lights? I'm going to shave the big chrome ones off of it to clean the back end up a bit. I've found a few online that look like bumper bolts but have small leds in them... they're more for marker lights than reverse though so they won't project as much light.
Anyone have any ideas for some hidden reverse lights? I'm going to shave the big chrome ones off of it to clean the back end up a bit. I've found a few online that look like bumper bolts but have small leds in them... they're more for marker lights than reverse though so they won't project as much light.
#10
Joined: Mar 2009
Posts: 8,184
Likes: 4
From: Clinton, Ontario

#14
Joined: Mar 2009
Posts: 8,184
Likes: 4
From: Clinton, Ontario

Thanks!
Nothing really new over the weekend... still lots more undercoat to come off. Drain plugs in fuel tanks are awesome! I needed to empty the tank before I took it out so I drained it, topped up my truck and I have some left over in the can. Looks like my snow blower is running on 91 octane Shell V-Power this winter! lol
As old cars always go I found a few other areas that need attention but it's better to find them now and know ahead of time!
#15
Joined: Mar 2009
Posts: 8,184
Likes: 4
From: Clinton, Ontario

Here's where I'm at now....
I took the fuel and brake lines off as well as the h-pipe and mufflers and a few other things. Everything from the headers/trans back is stripped off the car except the two bumpstops that I just realized I missed!
My list of things to do has expanded.... rear frame rail sections need replacement as well as some work above them!

#24
Joined: Mar 2009
Posts: 8,184
Likes: 4
From: Clinton, Ontario

Looks like this is going to turn into a bigger project again.... lol. It's pretty much going to be a full restoration now. I found a few more things and rather than just patching some stuff here and there in the trunk it's going to be all done.
It definitely needs rear frame rail sections and I'm going to do both side of the trunk floor, dropoffs to the bottom of the quarters, rear trunk crossmember, both full quarters or skins and maybe the taillight panel. Both floor pans will be done along with toe boards and probably both torque boxes now. I might be in this for a year or two!
If I'm going to do it I may as well do it right...


