When you click on links to various merchants on this site and make a purchase, this can result in this site earning a commission. Affiliate programs and affiliations include, but are not limited to, the eBay Partner Network.
When was the last time you heard the Thud, as the tailgate was opened.
My 99 Ford Ranger recently joined the family, after serving many hours for a local municipality as a law enforcement patrol vehicle, complete with a bullet hole in a door With just over 100K on the clock, A good cleaning, and a couple of basic repairs, It is enjoying a leisurely retirement as a grocery hauler now. So with that last Drop, and Thud still echoing,, my experience was a few days ago, when my tween ager (under 21) daughter did the deed..
It got me thinking, and some research found that nobody makes a direct fit kit to install for 98-2003 model years I needed.. The closest thing is a late model kit for (2012-2016) offshore Rangers, made overseas. A quick jump to Ebay, I located a suitable kit, "FORD RANGER PX XLT T6 MK2 12-16 REAR TAILGATE SLOW DOWN SHOCK UP LIFT STRUTS ", ebay item number 263944124886. About $22 shipping included. Mine order came about 15 days after ordering, that proverbial "Slow boat from China". Time for a small, but much needed project last weekend.
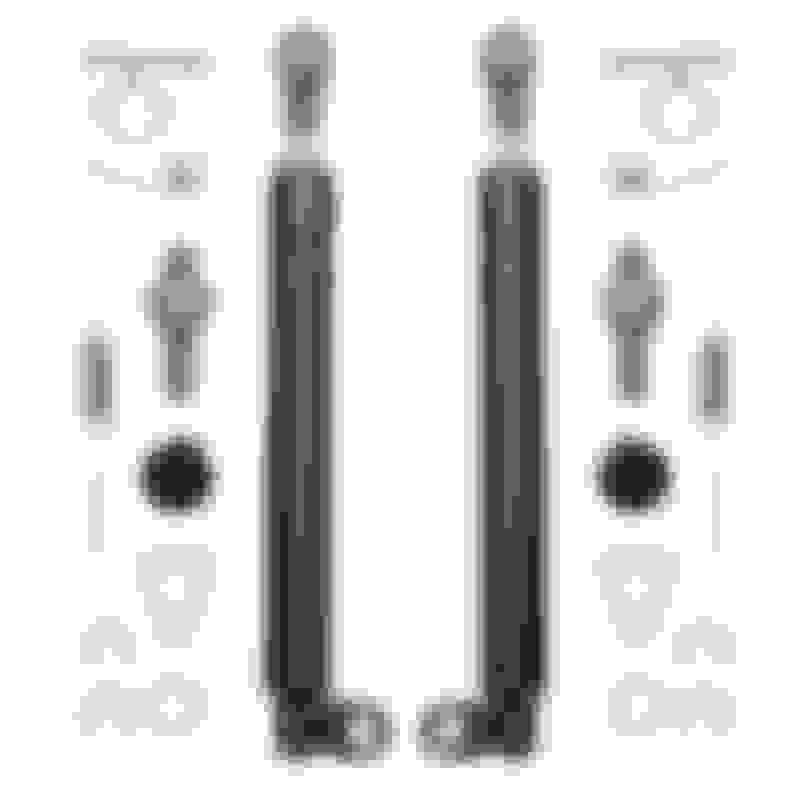
Chances are, the general Idea should work for other model years also. Kit contents from China Vendor, $22 shipping included. I bought the two strut kit since I felt the Ranger tail gate should be balanced when it is lowered.
In my installation example that follows, I will not be using the triangle washers, or tiny springs pictured. There were no installation instructions enclosed, so I had to view the photos from the ebay listings from several vendors for a general idea of how this project would work.
RivNut kit ordered from ebay, about $15, Metric bolt nut and two washers $3.50 at Ace hardware.
I choose RivNuts, since they are fairly easy to install, look professional, and are very sturdy. There are many videos on YuoTube to help you understand basically how they work.
Stepper drill used for this project, Three drill kit from Harbor Freight about $9 and use that 20% off coupon in their ads..
Stainless Grade 8 hardened metric bolt and nut used with two washers. about $3.50 from Ace Hardware.
You will need a couple of hours,
A stepper drill capable upto 1//2 inch. I used it with a Craftsman cordless drill. A couple of nuts and washers for the threaded pivots,
A combination wrench (14mm) for threaded pivot and another wrench for nut also.
A sharpie pin to mark your drilling locations.
Two combination wrenches to fit the Stainless Metric - hardened) bolt / nut, (mine were 16mm.)
Pair of needle nose pliers, for E clips, and cotter pins.
Ball Peen hammer to set / tap in the RivNuts.
Phillips screw driver for taillight removal/replacement.
Since the upper pivot bolt had to be relocated so it would not strike the latch mechanism. I started by removing the taillight lense for easy access, place the four screws in a safe place. I held the pivot bolt in place, marked the location with Sharpie, and drilled the hole, taking two steps in so it would fit snugly Take note that it is going thru two layers of steel, making it sturdy. Holding the bolt in the freshly drilled hole, insert the flat washer, and a lock washer, before spinning on the hex nut. Tighten it down snugly. (14mm) was the size I used. Slide the strut on the pivot bolt, align the "E" clip and click into place with the needle nose pliers.
Replace tail light lense, with the four screws you removed moments ago. Be careful not to over tighten. The plastic is fragile.
Take note of how the "E" clip is placed. Notice the gap to the left of the strut, the tail gate cable will slide into that location as you raise the tail gate.
Lower strut bracket mounted to Tailgate bracket, drivers side.
Next step is to locate the lower strut pivot, Use the "ELE" bracket with a pivot pin, and large round hole, see photo above. I held the "ELE" so the lip went under the tail gate bracket bottom, marked the large circle with a Sharpie, Once marked, use the Stepper drill, centered in that circle stepping downward until the last step 1/2" drills through the hole (outer size of the RivNut you are using), and steps all the way thru.
I choose a RivNut that fit the Black Hex/ headed bolt. I assembled it like the photo below and threaded the bolt until it was flush with the bottom. Using a ball peen hammer I gently tapped the RivNut into the hole until the shoulder was flush with the tail gate bracket. I then spun the bolt out, then placed two washers on the bolt below the nut and spun it back into the RivNut. Taking the two combination wrenches (mine were 16mm) one goes on the head, the other on the nut. You will be turning the NUT closkwise, drivers side for me brought the wrench down towards the tailgate face. Turn slowly, you are slowly compressing the backside of the RivNut. I kept turning the nut, Until it bottomed, strong muscles help here.
Once set, spin the metric bolt out, place the lower strut on to the pin of the "ELE" bracket, rotating back and forth until it is seated. Next put the cotter pin in, it should go thru easily if you have it all the way in position. Using the needle nose pliers, wrap the ends around the pin like the photo. This keeps the pin in place. Now place the lower pivot bracket, thread in the black hex bolt and use a hex key to tighten it down snugly.
RivNut with Bolt Nut just prior to insertion into drilled hole in lower tailgate bracket.
Now place the lower pivot bracket, thread in the black hex bolt and use a hex key to tighten the bolt.
There you have it, the driver's side is done,
Repeat the steps for the passenger side, the step to set the RivNut will also tighten the stainless nut on the set bolt will turn clockwise toward the front of the truck, This side was harder since I was standing by the tailgate. Take your time to set the RivNut.
When complete, close, then open the tailgate, it should go down slowly, and safely with no more THUD. This project has brought a smile to me face and around $50
Happy Tail Gating......
RivNut Assortment Kit part number from ebay vendor for about $15.

 10-28-2018