What's he going to do with these now?!
#27
#31
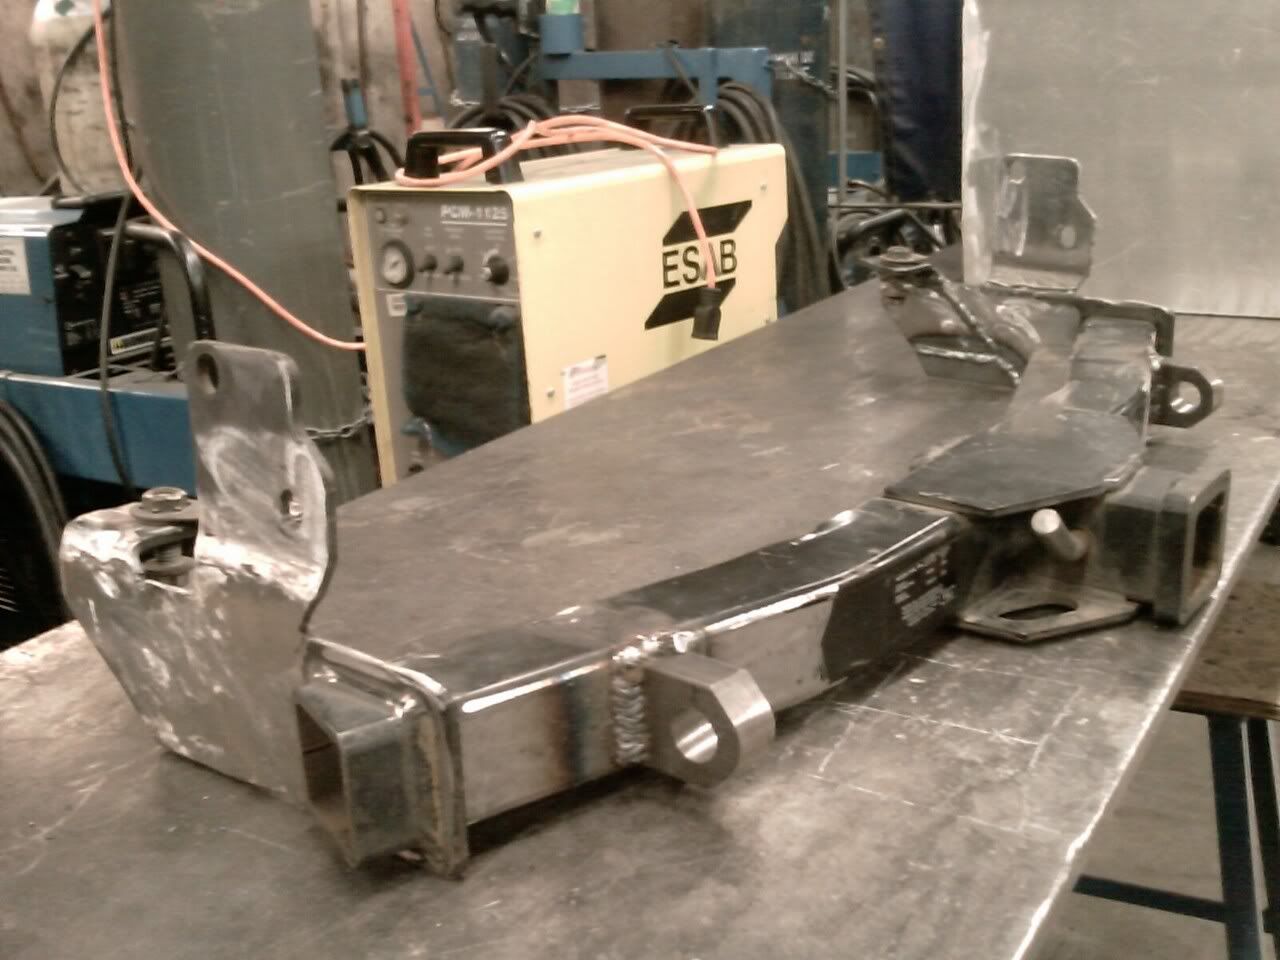
1in block is going in the square tube of the hitch tonight. Then getting a 3/8in plate for gusset along the back side of the hitch on the square tube for strength.
I added more 1/4in plate to it today, ground down the outside smooth for appearance purposes and left the back side untouched with welds. I'll take pics tomorrow, but it'll be with my phone (left my microSD card in my computer for my phone at home and my camera is dead, sorry guys).
I ended up making new shackle blocks for the d-rings i'm going to be using out back. I think they're 4-3/4in long and 2in wide.. Same 1in thick plate with a 15/16in hole for the d-rings. So all that will get done tonight and by tomorrow I should be able to primer it and spray on the rubberized undercoating on it. Oh also drilling holes in the 3/8in plate for the back-up lights while I have the pieces out before they're welded on.
#32
Well I didn't get it all done tonight... Slotted the square tube for the d-ring mounts, ground the front side of the hitch smooth and am going to add my light tabs there tomorrow. Welded the mounts front 2 passes per side on the mount and it slides all the way through the hitch where it was welded all the way around it and then ground smooth to add my gussets back there. I ended up using 1/4x1-1/2in wide strips instead of the 3/8in I planned on running (time and couldn't find any good pieces I wanted to use for it).
Tomorrow I'll finish up the gusseting and tabs and get out the flap disc and make it pretty for primer and undercoating. Should be tomorrow also, as long as it's nice outside. Gonna check to make sure it's all square before that though...
Here's the pic of what it looks like about 80% done.

If you have access to a shop and machines, pretty cool mod for people that want a raised hitch that's functional for off road use too.
Tomorrow I'll finish up the gusseting and tabs and get out the flap disc and make it pretty for primer and undercoating. Should be tomorrow also, as long as it's nice outside. Gonna check to make sure it's all square before that though...
Here's the pic of what it looks like about 80% done.

If you have access to a shop and machines, pretty cool mod for people that want a raised hitch that's functional for off road use too.
#34
#36
Eh, gave me something else to build in the class... Plus it looks pretty cool and factory... Got lots of compliments on it tonight after I finished grinding it all and primed and undercoated it.
It's got light tabs off to the side of the square tube, and those 1in blocks slid through the square tube with a 1/4in gusset all along the back side of the tube. It gets boring with a 4hr class and nothing to build really so I had to keep myself busy. I left it in the shop tonight to let the undercoating set up and cure so I could hit the front one more time before it's all completely done. I'll probably do that tomorrow on my day off and then it'll be all done by monday morning ready to go back on. Even though I won't be putting it on til the weekend.
I'll snap a pic tomorrow before I leave, but again, it'll have to be with my phone.
Brian, those look pretty cool! Nice idea! I just felt more comfortable with slotting out the tube and piece of mind knowing they're welded front and back especially if I plan on using them as recovery points. I would put some sort of bevel on both sides of those plates on all sides welded flat then a fillet on top of it. That's just me though.
#38
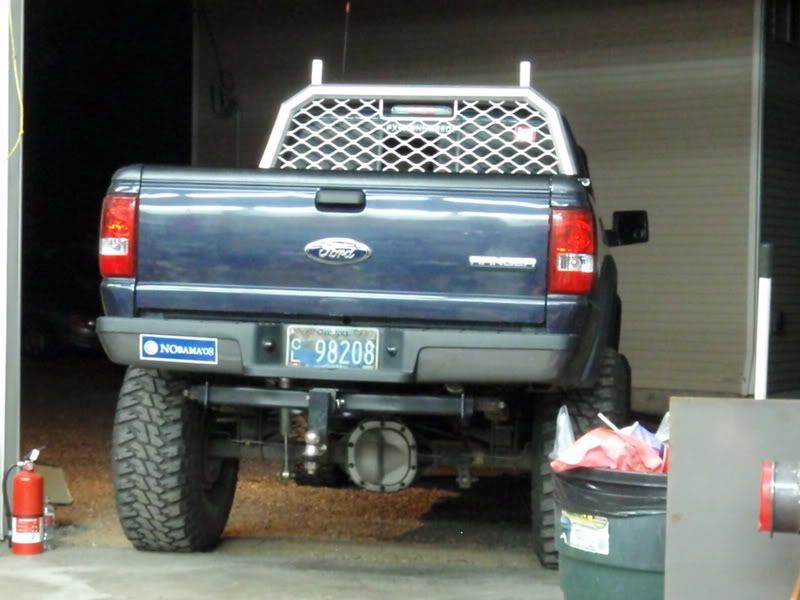
So the hitch is done and put about 3 coats of under coating on it and let it cure in the sun all day today, since it was about 80*. Turned out way good and should work well for what I'll use it for. Going to lengthen the light tabs on the outside, my lights won't clear it so I'll make them 2in longer and be good to go.
Here's the pic I snapped at school today.

I'll be doin a hitch for the front of my truck in the coming weeks. Just need about 1ft of the 2.5 DOM square tubing (2in ID with 1/4in wall making 2.5in OD DOM) for the female part of the receiver.
Here's the pic I snapped at school today.

I'll be doin a hitch for the front of my truck in the coming weeks. Just need about 1ft of the 2.5 DOM square tubing (2in ID with 1/4in wall making 2.5in OD DOM) for the female part of the receiver.
#39
Brian, those look pretty cool! Nice idea! I just felt more comfortable with slotting out the tube and piece of mind knowing they're welded front and back especially if I plan on using them as recovery points. I would put some sort of bevel on both sides of those plates on all sides welded flat then a fillet on top of it. That's just me though.
#42
#48
#49
IMG_1223.jpg?t=1241065635
You should make me some of those tow points. those look sweet!
#50
Thanks for the input though Jay. Always helps hearing from fab guys!


