
Taylor's steel rear bumper
#1
 01-16-2011


Taylor's steel rear bumper
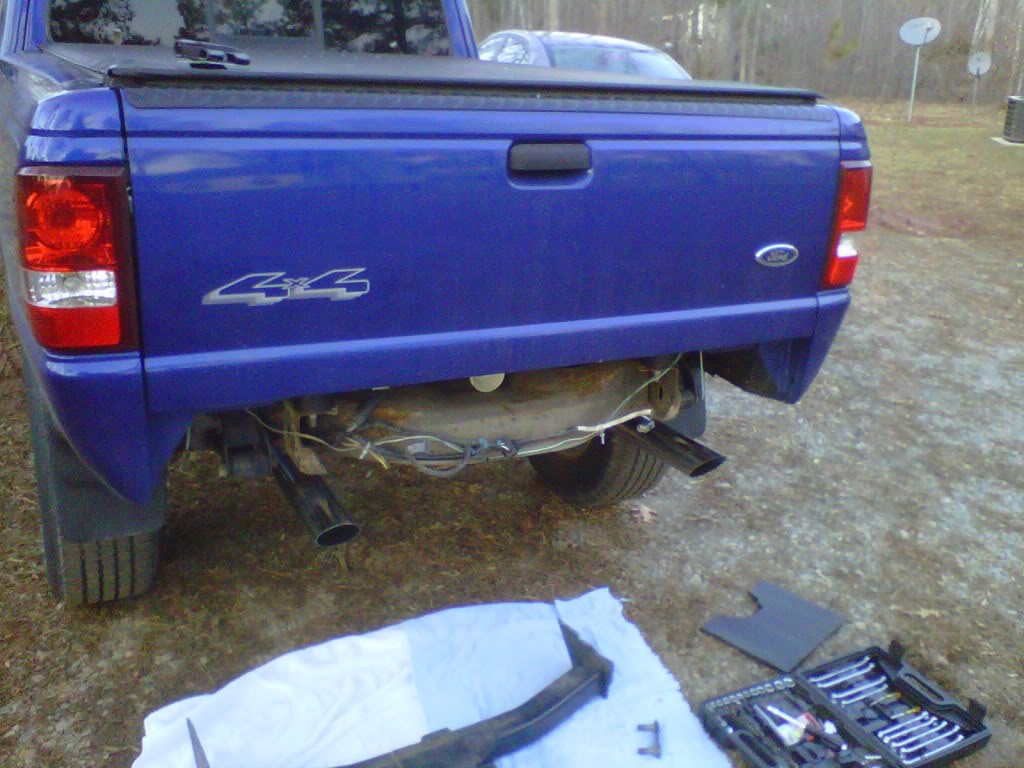
Well, starts off as a "teaser" because im not finished with the bumper yet.
Hacked up my rear hitch some. Using 2 inch square tubing. 1/4 inch thick. Beef.
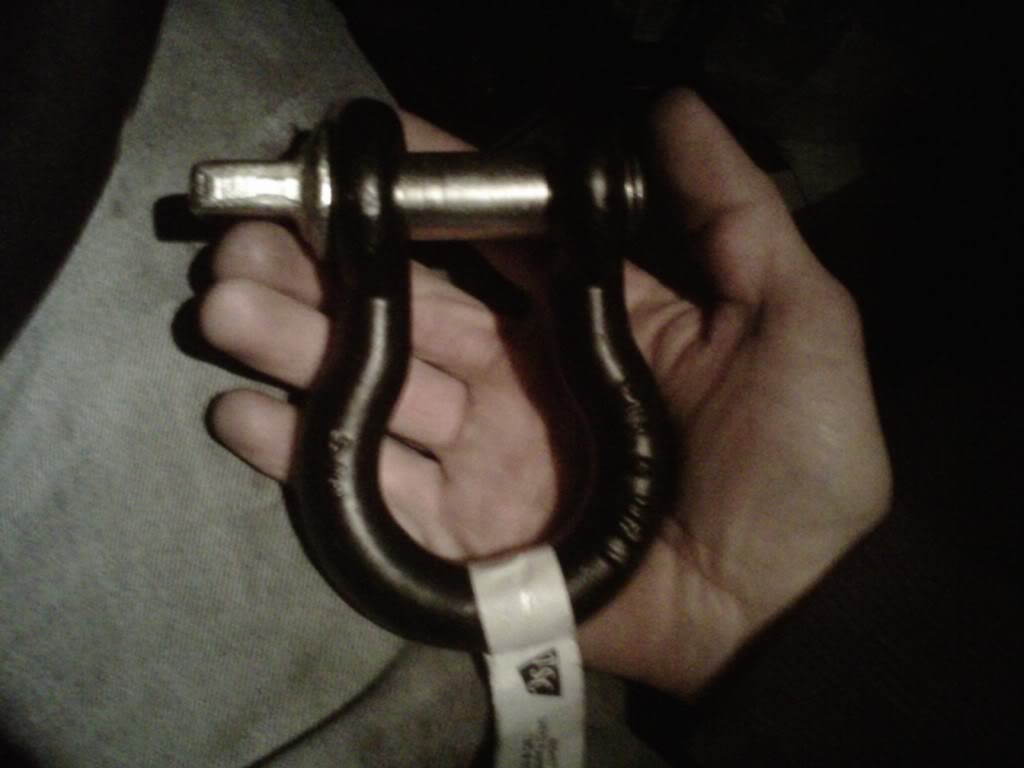
Ill be stick welding all of this. 8018 rods. Bumper will include rear hitch, and two clevises.
More pics to come later.
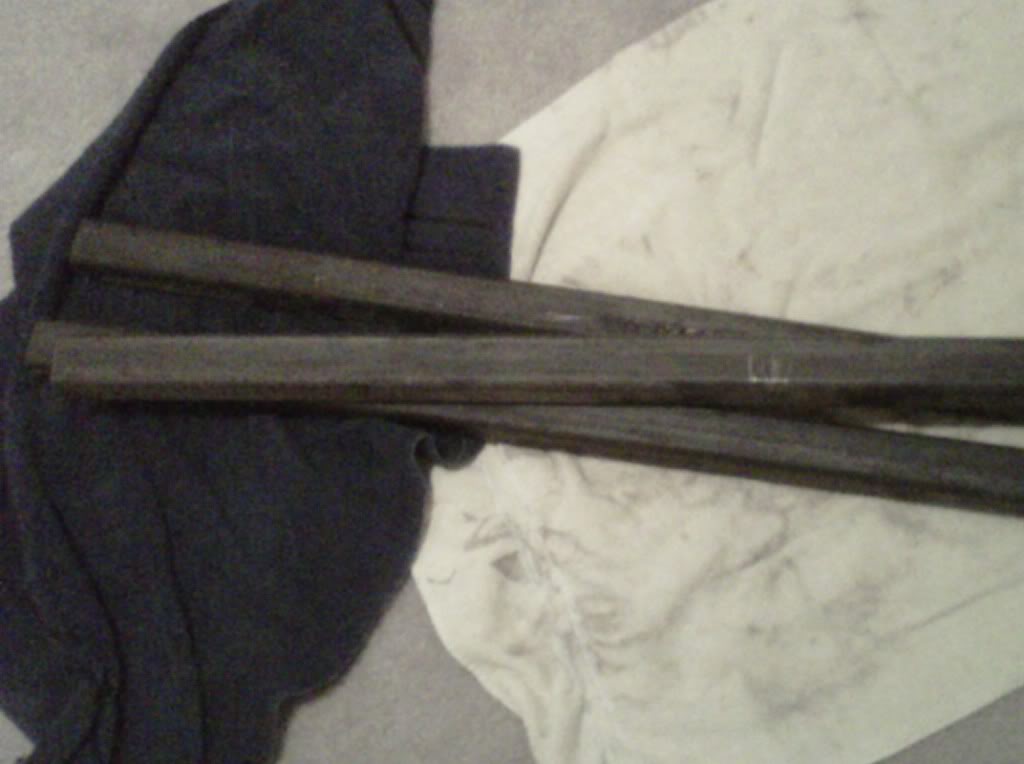
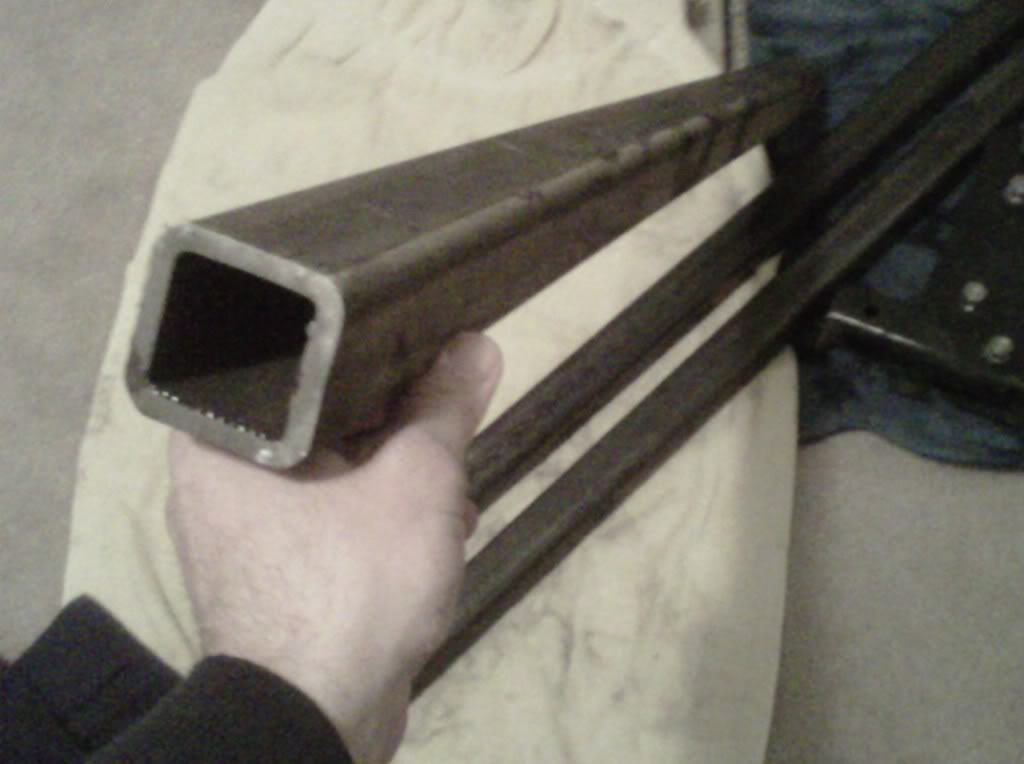
Hacked up my rear hitch some. Using 2 inch square tubing. 1/4 inch thick. Beef.
Ill be stick welding all of this. 8018 rods. Bumper will include rear hitch, and two clevises.
More pics to come later.

#7
01-17-2011
#8
01-17-2011
#9
01-17-2011
Wirelessly posted (Droid X)
Still gonna take quite a bit of time to clean up, regardless of how good you are
Originally Posted by Taylor
Well, it will all be welded at work. Long story short, its too much of a hassle to mig weld it at work due to my supervisor and the maintenance guys.
And as for cleaning it up when finished...it depends on how good you are at stick welding.....hehehe
And as for cleaning it up when finished...it depends on how good you are at stick welding.....hehehe
#10
01-17-2011
Here are my templates for the hitch mount holes. These were the original mouting points on the hitch (minus the third bolt that bolted to the bottom side of the frame)
Edges all cleaned up. These will double as templates and reinforcement for the mouting.
These will be welded onto the hitch where it will mount to the frame

The question still remains as if the 2 holes on each side for mounting will be strong enough for towing and pulling?
Edges all cleaned up. These will double as templates and reinforcement for the mouting.
These will be welded onto the hitch where it will mount to the frame
The question still remains as if the 2 holes on each side for mounting will be strong enough for towing and pulling?

#14
01-18-2011
OP - Trace those brackets out on a sheet of 1/4" steel and drill/cut the brackets out of the 1/4" - Then weld that to your bumper. If you can, use 3/4 grade 8 hardware for mounting. It'll tow enough and pull more than enough to rip the truck in half. That's how my old 89 Rangers bumper is mounted. I built it and abused it majorly.
Also, it's more of the shear strength of the bolt that comes into play I'd say. The way most rear bumpers would be mounted, the bolts wouldn't be under tension but shear loads instead.
GB :)
Also, it's more of the shear strength of the bolt that comes into play I'd say. The way most rear bumpers would be mounted, the bolts wouldn't be under tension but shear loads instead.
GB :)
#15
01-18-2011
#16
01-18-2011
#17
01-18-2011
#18
01-18-2011

#19
01-18-2011
#20
01-18-2011
Wirelessly posted (Droid X)
Not to mention yours is a but bigger than 3/4" right? Lol
Originally Posted by 04blackedge
I've yet to have the clevis on my shackle come loose, I have heard that happening to some guys though. Mine normally seizes shut and I have to break it lose with a screwdriver handle lol
#22
01-18-2011
#23
01-18-2011
#24
01-19-2011
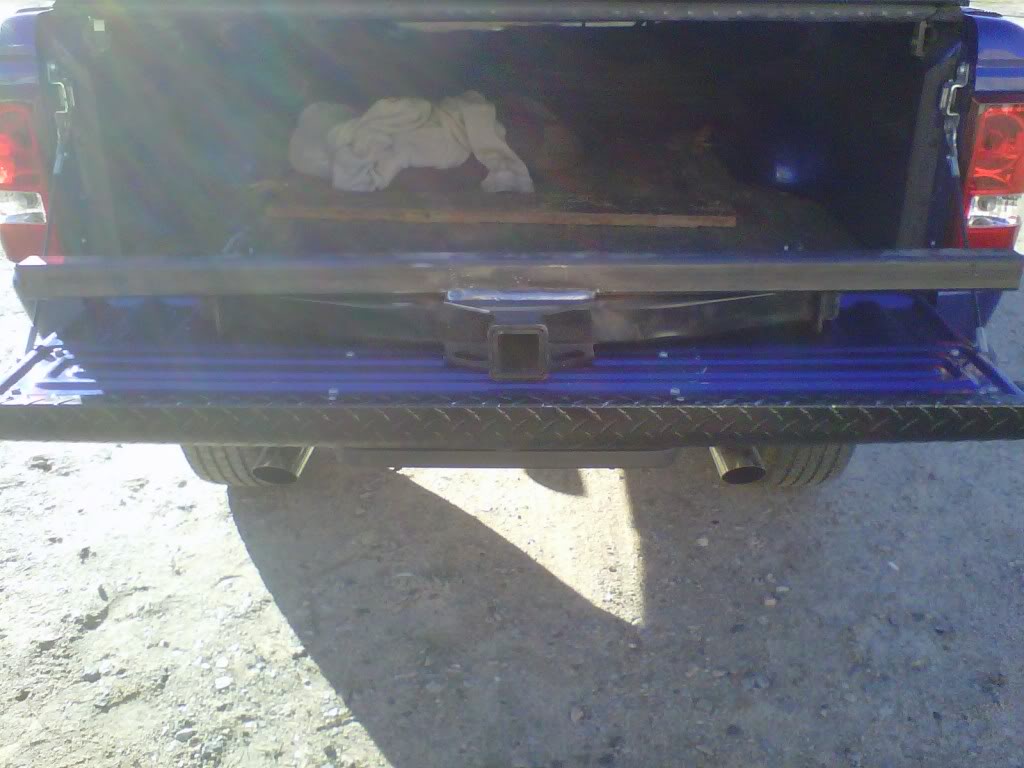
Today got 3/4" hitch pins with cotter pins instead of the threaded ends that came with the clevises.
welded on the shim/template/reinforcement everything plates today. Now I have 1/2 inch of base metal so Im good lol.
No pics today, will post pics when holes are drilled and hitch mounted to truck.
welded on the shim/template/reinforcement everything plates today. Now I have 1/2 inch of base metal so Im good lol.
No pics today, will post pics when holes are drilled and hitch mounted to truck.
#25
01-21-2011
Welded on first piece of skware toobing tewday.
Will add another plate on each side connecting tubing to hitch for extra reinforcement.
Welds are beefy, and this sucker isnt going anywhere.
some pretty stick weld picture.
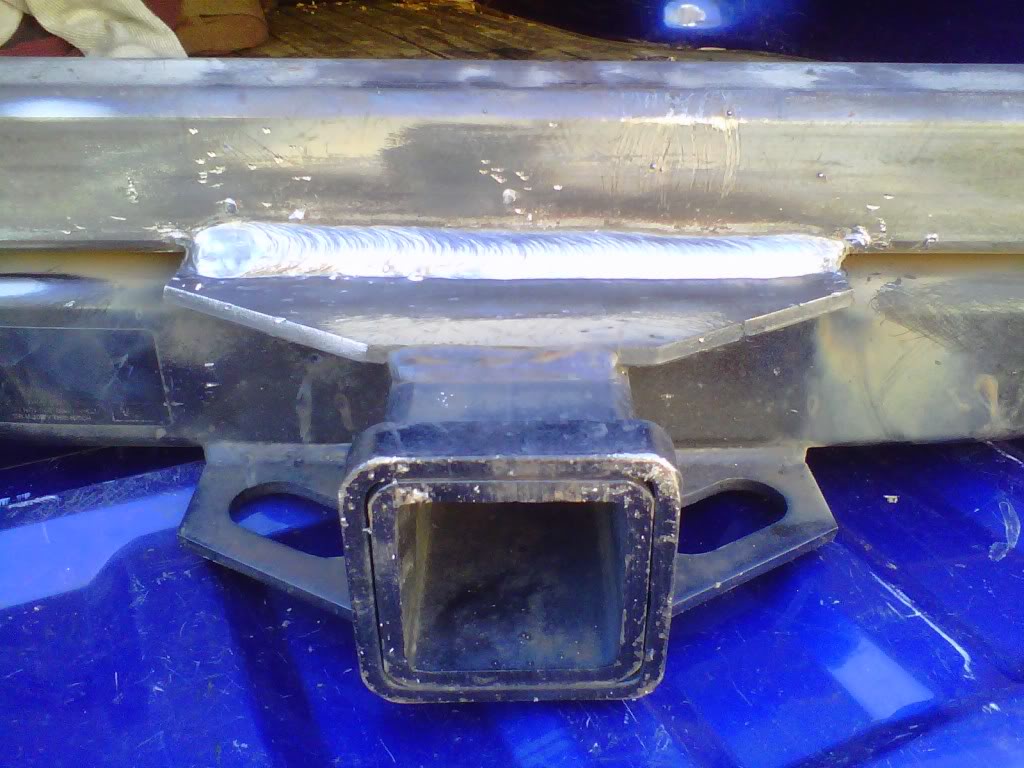
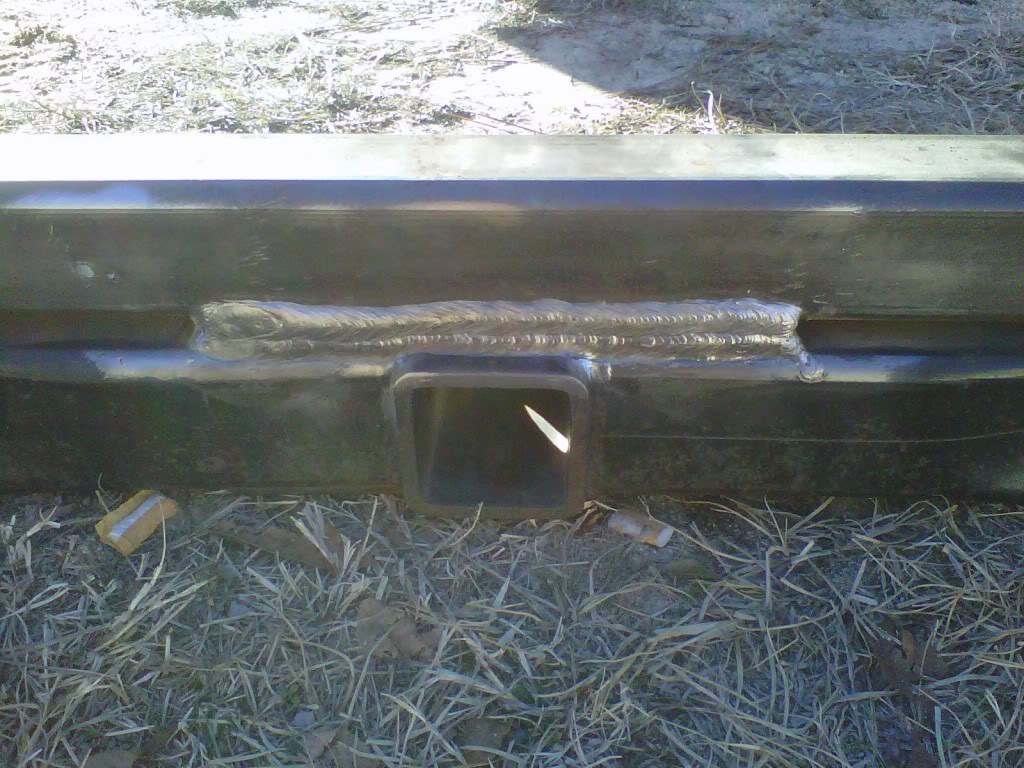
The only cleanup needed: Knock off a couple of spatterballs, and wire brush. TADA.
Bumper is now about halfway done.
Will add another plate on each side connecting tubing to hitch for extra reinforcement.
Welds are beefy, and this sucker isnt going anywhere.
some pretty stick weld picture.
The only cleanup needed: Knock off a couple of spatterballs, and wire brush. TADA.
Bumper is now about halfway done.


