
CAMODOWNS'S RCD+Coilover Conversion Meet (TX CREW)
#1
 10-24-2009


CAMODOWNS'S RCD+Coilover Conversion Meet (TX CREW)
Well I've got alot of pics from this meet, UP to the point of putting the front wheel's on...I had to leave before we got to the back of the truck.
Awesome meet, had alot of fun with the guys....Matt I think had too much fun....so bad that He fell asleep first when we got home from shooting pool. Well We have some artistic member's in this group....so let your mind wander..Anyway the coilover's turned out awesome...we had some hiccups, which were easily fixed but alot of work..anyway on to the pics:
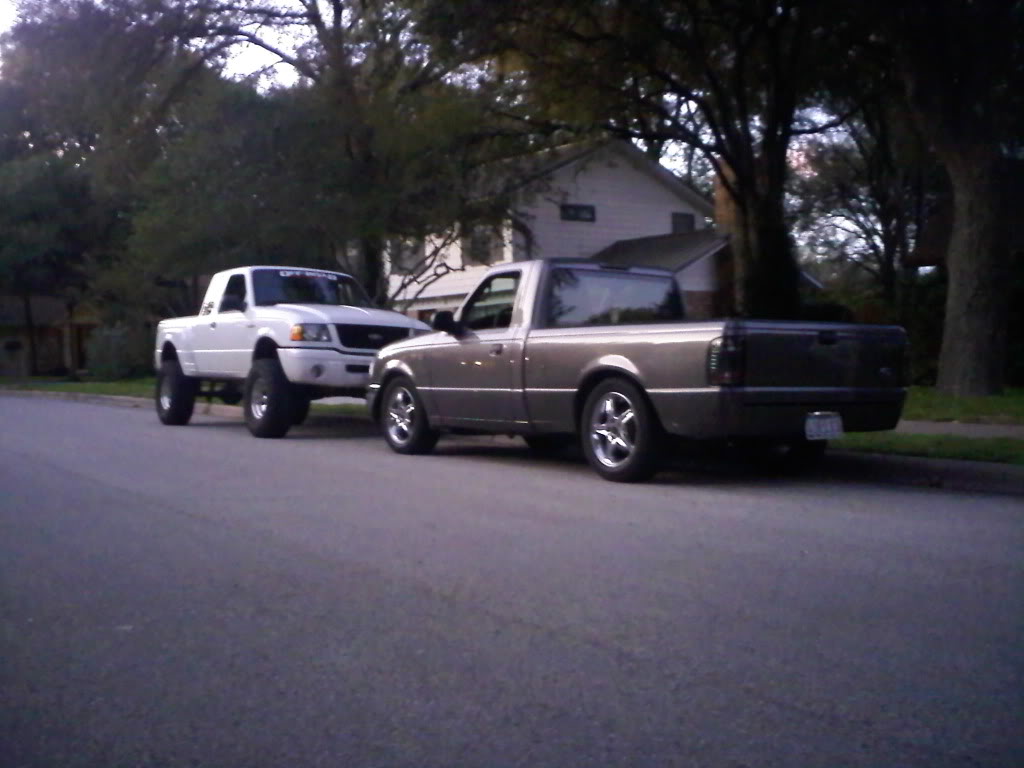
Casey's before the knife:


Startin it:


Ok so here's the story about Matt's face...LOL...Matt woke up with his face all sharpie'd up..well none of
us said anything and tried really hard not to laugh at him when he was looking at us. So he had no clue that
he was marked up UNTIL he and Casey went to the parts store and the guy was asked why his face was marked.
LOL needless to say I don't think Matt will fall asleep first next time.
Morning Ray of Sunshine...LMAO

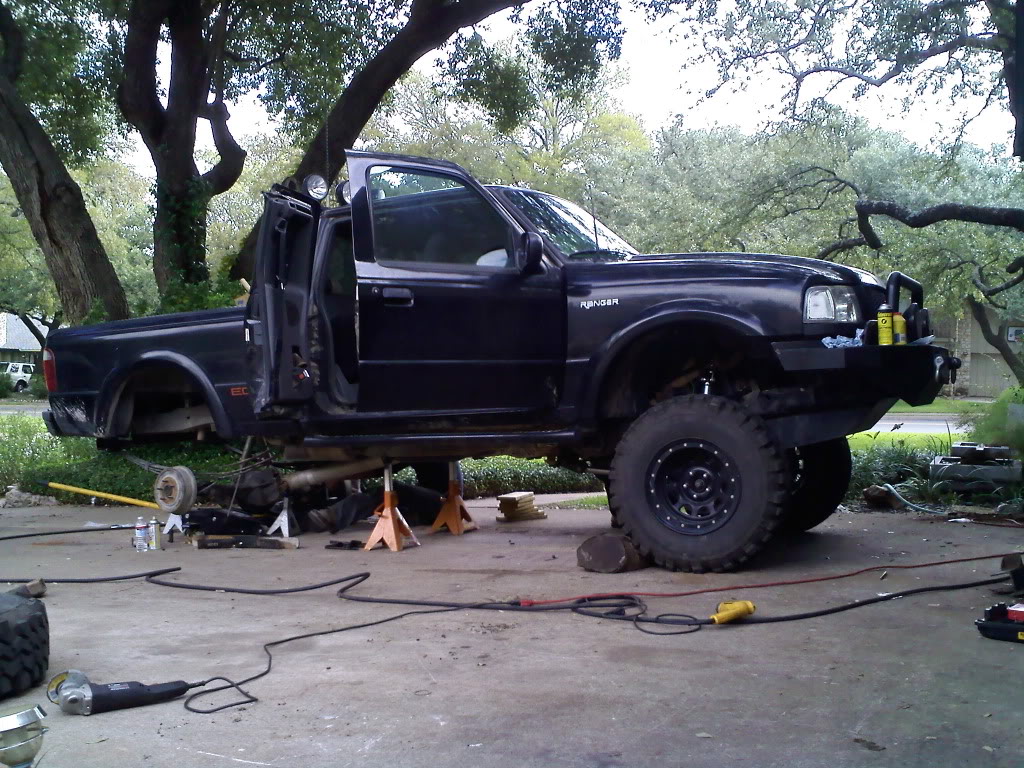
Almost torn apart:

Pullin Shocks:

Matt giving emotional support:

So then came the new balljoints....we didn't have the balljoint press tool, so we tried some redneck
engineering....an hour later we went to the parts store and got the press:

Got the Press Kit:


Matt's Driveway...which I have to say...me and Jabob worked on the passanger side...had some problems getting the
cv shaft to break away from the knuckle, so we ended up pulling the CV shaft with the knuckle still attached.
Well me and jacob as we pulled things apart, we kept track of all the bolts and nuts...you go to the driver's side...
lol just a big pile of hardware....

All Out...now comes the fun part:

Front Diff out:

Casey draining the oil out of the front diff:

Front RCD drop bracket installed:

Here's is the lower Coilover bracket's that bolt onto the Lower control arm....BEEF:

Here's the pictures of the gusset's you need to weld on either side of the shock bucket. All of the weight of
the truck now is going to be retained within your shock bucket...so a little beef up is called for:


Front Diff back in:


Lower control arms in:


Drilling the holes up for the lower coilover bracket. Jacob's bracket's pick up the 2 OEM lower shock mounting
locations, with the addition to 2 more...again BEEF:


When we finally got the passanger cv shaft seperated from the knuckle, we noticed that the threads
on the end of the cv shaft, where you would thread your nut on were mushroomed...like 3 threads deep.
Thankfully there is enough thread, so we ended up cutting it back a bit. Jacob was the man on this..he had a
few premature "HAHAHAH I GOT IT" as the nut then fell off again".... but in the end Jacob was the victor..


Smoothing out the cv shaft threads:

Upper shock mount installed....(these holes are a pain in the azz to drill out...make sure you have a couple of bits)

RCD strut bars installed:

The garage:


Matt's poor truck all by it's lonesome:

OOOOOOOOOOOO PRETTY THINGS:

Coilover's in mock up:


Knuckles being installed:


Casey picked up a sweet set of crossdrilled and slotted rotor's:


Finished installation:


That's all I have picture wise...I ended up having to leave and head back to the house. Matt is supposed
to post up the finished pictures. They were just about done with the front. The had to get the extended
brake lines installed (which are pretty sweet) and get the wheels/tire's installed. Put Casey's front skidplate and
transfer case skid plate back on. Then it was getting the rear done. Plans are a AAL, and belltech shackles.
I had a great time with those guys....we had a good time. Sorry I couldn't stay for the finished product..but was
thankful that I got to help out. Anyway....Matt waitin on you now bud...LOL
Awesome meet, had alot of fun with the guys....Matt I think had too much fun....so bad that He fell asleep first when we got home from shooting pool. Well We have some artistic member's in this group....so let your mind wander..Anyway the coilover's turned out awesome...we had some hiccups, which were easily fixed but alot of work..anyway on to the pics:
Casey's before the knife:
Startin it:
Ok so here's the story about Matt's face...LOL...Matt woke up with his face all sharpie'd up..well none of
us said anything and tried really hard not to laugh at him when he was looking at us. So he had no clue that
he was marked up UNTIL he and Casey went to the parts store and the guy was asked why his face was marked.
LOL needless to say I don't think Matt will fall asleep first next time.
Morning Ray of Sunshine...LMAO
Almost torn apart:
Pullin Shocks:
Matt giving emotional support:
So then came the new balljoints....we didn't have the balljoint press tool, so we tried some redneck
engineering....an hour later we went to the parts store and got the press:
Got the Press Kit:
Matt's Driveway...which I have to say...me and Jabob worked on the passanger side...had some problems getting the
cv shaft to break away from the knuckle, so we ended up pulling the CV shaft with the knuckle still attached.
Well me and jacob as we pulled things apart, we kept track of all the bolts and nuts...you go to the driver's side...
lol just a big pile of hardware....
All Out...now comes the fun part:
Front Diff out:
Casey draining the oil out of the front diff:
Front RCD drop bracket installed:
Here's is the lower Coilover bracket's that bolt onto the Lower control arm....BEEF:
Here's the pictures of the gusset's you need to weld on either side of the shock bucket. All of the weight of
the truck now is going to be retained within your shock bucket...so a little beef up is called for:
Front Diff back in:
Lower control arms in:
Drilling the holes up for the lower coilover bracket. Jacob's bracket's pick up the 2 OEM lower shock mounting
locations, with the addition to 2 more...again BEEF:
When we finally got the passanger cv shaft seperated from the knuckle, we noticed that the threads
on the end of the cv shaft, where you would thread your nut on were mushroomed...like 3 threads deep.
Thankfully there is enough thread, so we ended up cutting it back a bit. Jacob was the man on this..he had a
few premature "HAHAHAH I GOT IT" as the nut then fell off again".... but in the end Jacob was the victor..
Smoothing out the cv shaft threads:
Upper shock mount installed....(these holes are a pain in the azz to drill out...make sure you have a couple of bits)
RCD strut bars installed:
The garage:
Matt's poor truck all by it's lonesome:
OOOOOOOOOOOO PRETTY THINGS:
Coilover's in mock up:
Knuckles being installed:
Casey picked up a sweet set of crossdrilled and slotted rotor's:
Finished installation:
That's all I have picture wise...I ended up having to leave and head back to the house. Matt is supposed
to post up the finished pictures. They were just about done with the front. The had to get the extended
brake lines installed (which are pretty sweet) and get the wheels/tire's installed. Put Casey's front skidplate and
transfer case skid plate back on. Then it was getting the rear done. Plans are a AAL, and belltech shackles.
I had a great time with those guys....we had a good time. Sorry I couldn't stay for the finished product..but was
thankful that I got to help out. Anyway....Matt waitin on you now bud...LOL
Last edited by RangerNVS; 10-25-2009 at 09:35 AM. Reason: UPDATED


#7
10-25-2009


#8
10-25-2009

#10
10-25-2009
Join Date: Mar 2008
Location: locust grove georgia
Posts: 1,441
Likes: 0
Received 0 Likes
on
0 Posts
#11
10-25-2009
#12
10-25-2009
Join Date: Feb 2006
Location: Yuma, AZ
Posts: 813
Likes: 0
Received 0 Likes
on
0 Posts
#13
10-25-2009
Join Date: Nov 2008
Location: Newark, Delaware
Posts: 1,751
Likes: 0
Received 0 Likes
on
0 Posts
#15
10-25-2009
nah you dont even need it torn down this far. you can leave the spindle on and work around it. id pull the rotor off though to avoid sparks and slag and stuff from hitting it. but yea its easier to have it off. more room to work with...
all in all, a good weekend. i didnt come out with any pictures cuz i didnt have my camera. i got home about 2 hrs ago. we finished the rearend this morning. what should have taken about 30-45 minutes took like 3 hours. damn centering pin was too short.
oh and for all those that saw matts face, wait til you see what we did to him the next night. the dumbass did the exact same thing(fell asleep before everyone else), so we destroyed him. pics to come...
#17
10-25-2009
only one of them was. the passenger side was stuck inside the hub. almost rusted in there. normally you can just push it in and out but this one was stubborn. well, after hitting it a couple times with a sledge, it mushroomed the head of the cv. so i had to cut it down and fix er up in order to be able to put the axle nut back on. def one of my better fab moments. lmao
.jpg)
.jpg)
.jpg)
.jpg)
.jpg)
.jpg)
.jpg)
.jpg)
.jpg)
.jpg)
.jpg)
#20
10-25-2009
#21
10-25-2009
#22
10-25-2009
#23
10-25-2009
Join Date: Nov 2008
Location: Newark, Delaware
Posts: 1,751
Likes: 0
Received 0 Likes
on
0 Posts
#24
10-25-2009
#25
10-25-2009


