How To: Transmission Fluid Drain And Refill
#1
Joined: Jul 2007
Posts: 2,417
Likes: 2
From: North Canton, Ohio
How To: Transmission Fluid Drain And Refill
This is being done on a 1999 Ford Ranger 4x4 4.0 OHV
The tools you will need for this job are a:
3/8" socket wrench
3/8" socket extension
3/8" Bendable socket extension
13mm socket
Large drain pain
scraper
RTV
A long and narrow funnel
Brake clean
If you have a creeper it helps out alot.
You will need 5 quarts of Transmission fluid preferably Valvoline Max life Dex/Merc Transmission fluid. You will also need to purchase the Filter kit which comes with the filter, necessary O-rings, bolt and fresh seal for the transmission pan. I purchased all of this at my local auto parts store.
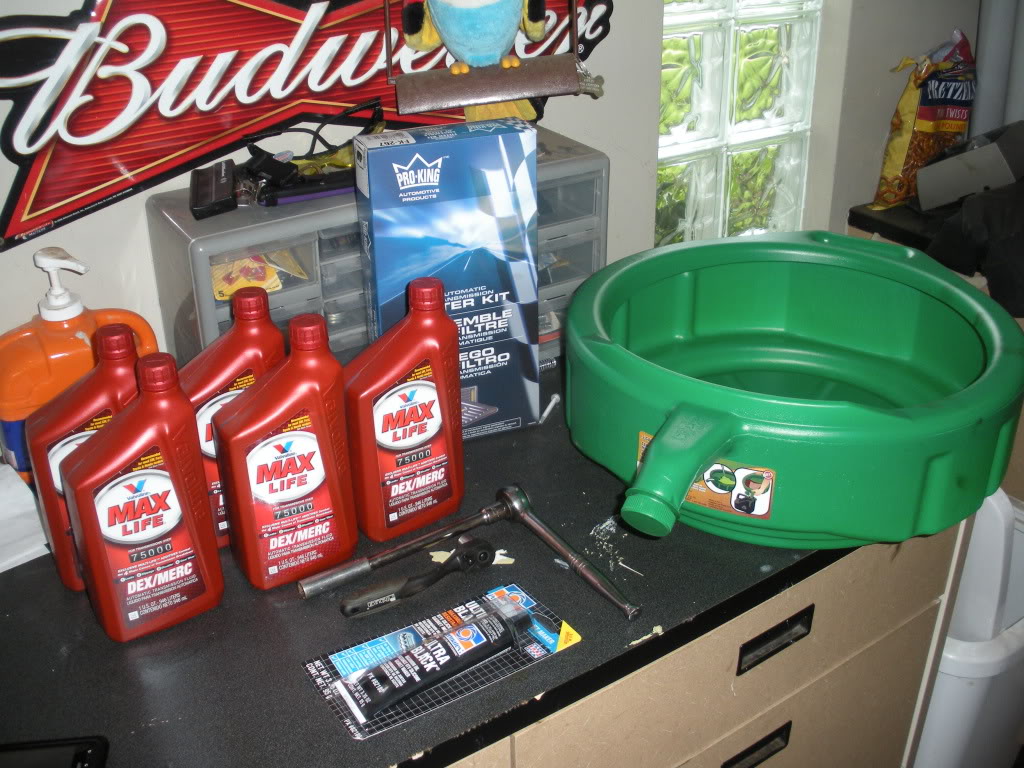
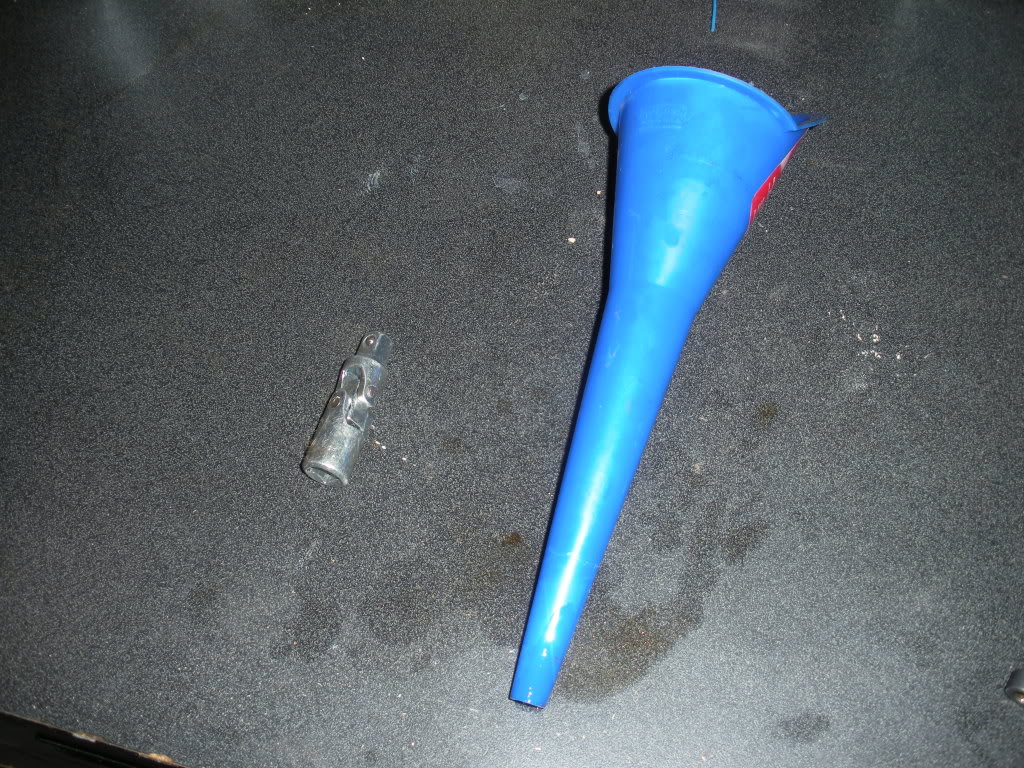
Step one: Put your truck where you want to work on it and put it in park. Use Jack and Jack stands if necessary.
Step two: Remove the clips of the shield that is located on the passenger side in between the transmission pan and Catalytic converter and move it up and out of the way.
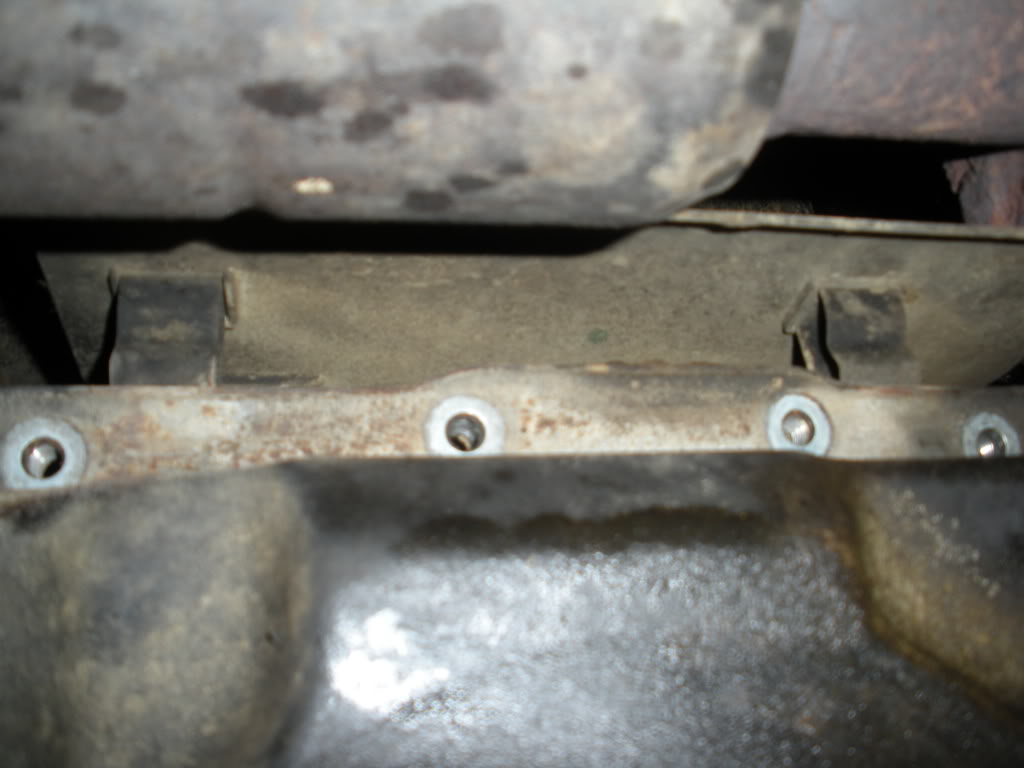
Step three: Start taking out the bolts along the sides of the pan.
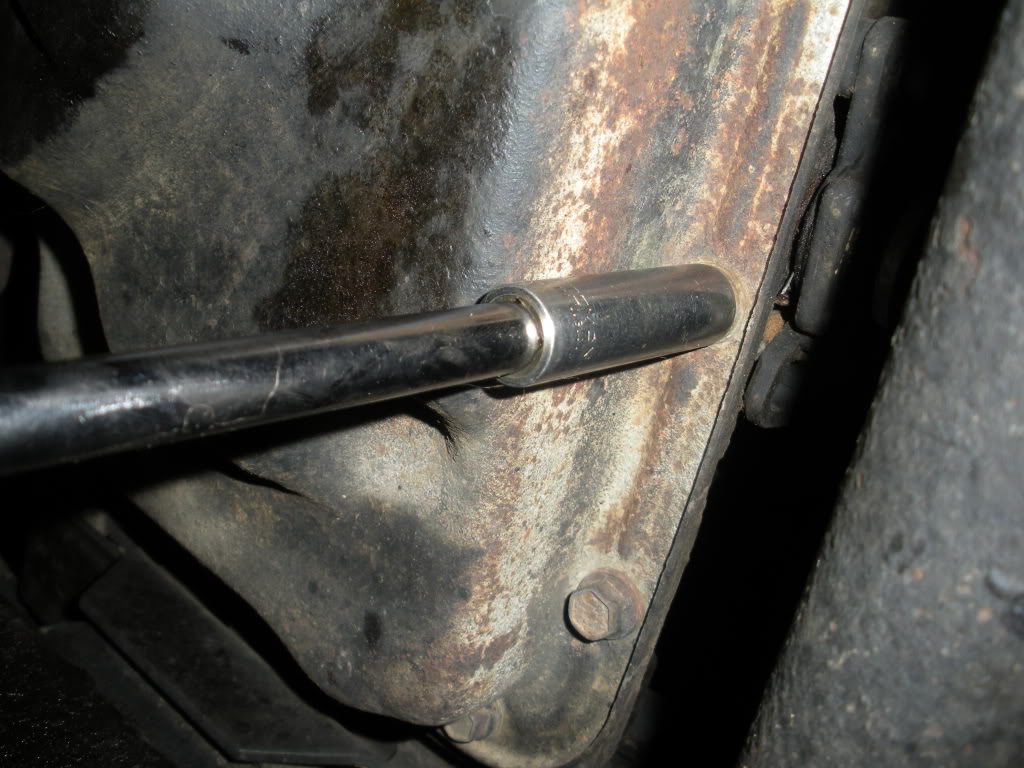
leave 2 bolts on each end of the pan on for now.
Front of Pan
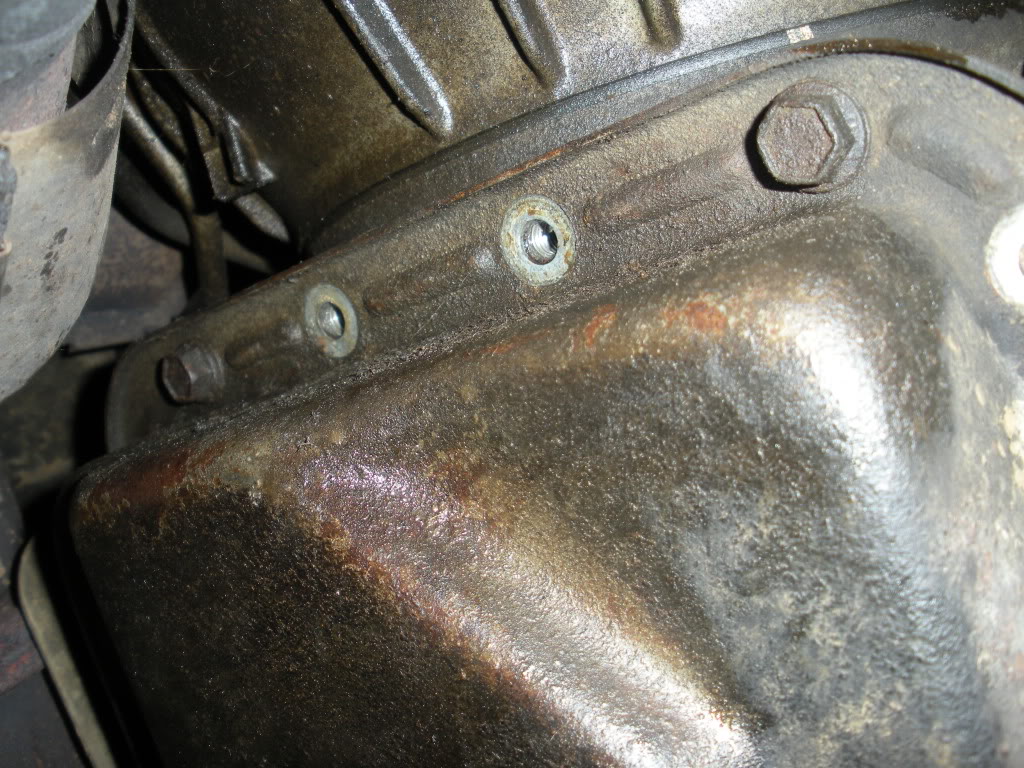
Rear of pan

Step four: You want to drain the fluid from the rear of the pan. Make sure you have your Drain pan in place. To do this Loosen the 2 rear bolts a couple turns. Then go ahead and loosen the front 2 bolts a couple less turns than the rear, this way the pan will start to tilt towards the rear so the fluid will come out on one side. You may have to get a screwdriver and pry between the pan and the transmission to release the seal for the fluid to really begin to come out. Now continue to loosen the rear bolts and the front 2 bolts until the majority of the fluid is out.
Step five: Drop the Pan and dump any remaining fluid in the drain pain.
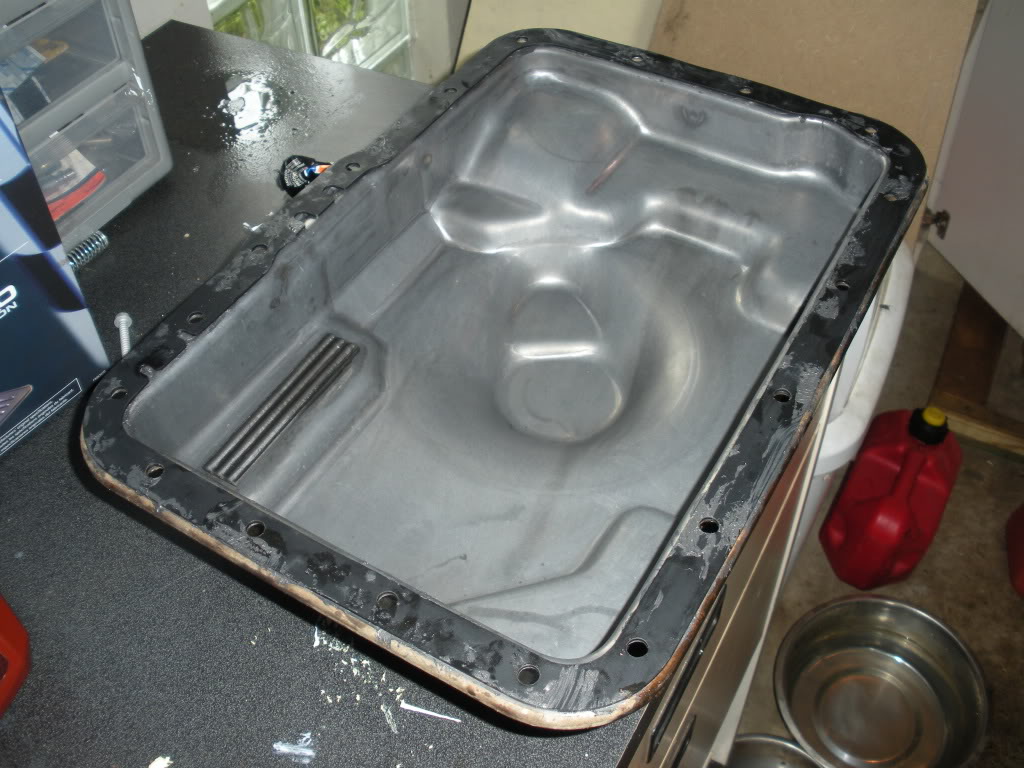
Step six: Take off the old seal
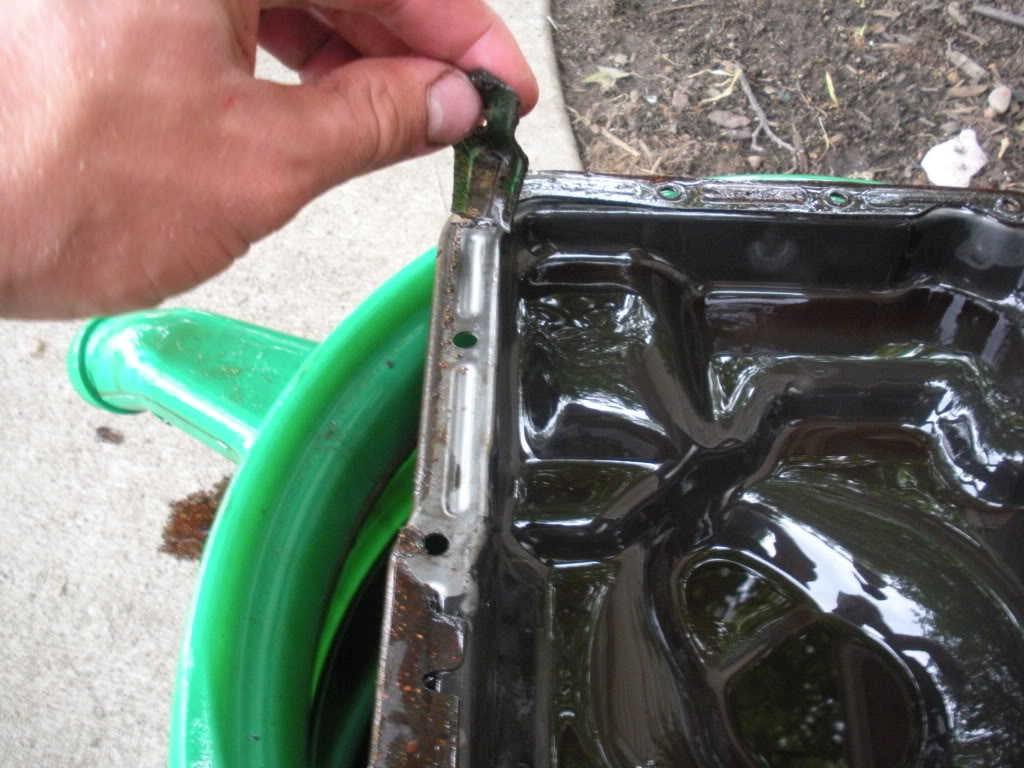
scrape any remaining pieces so that the surface is clean of the old seal.
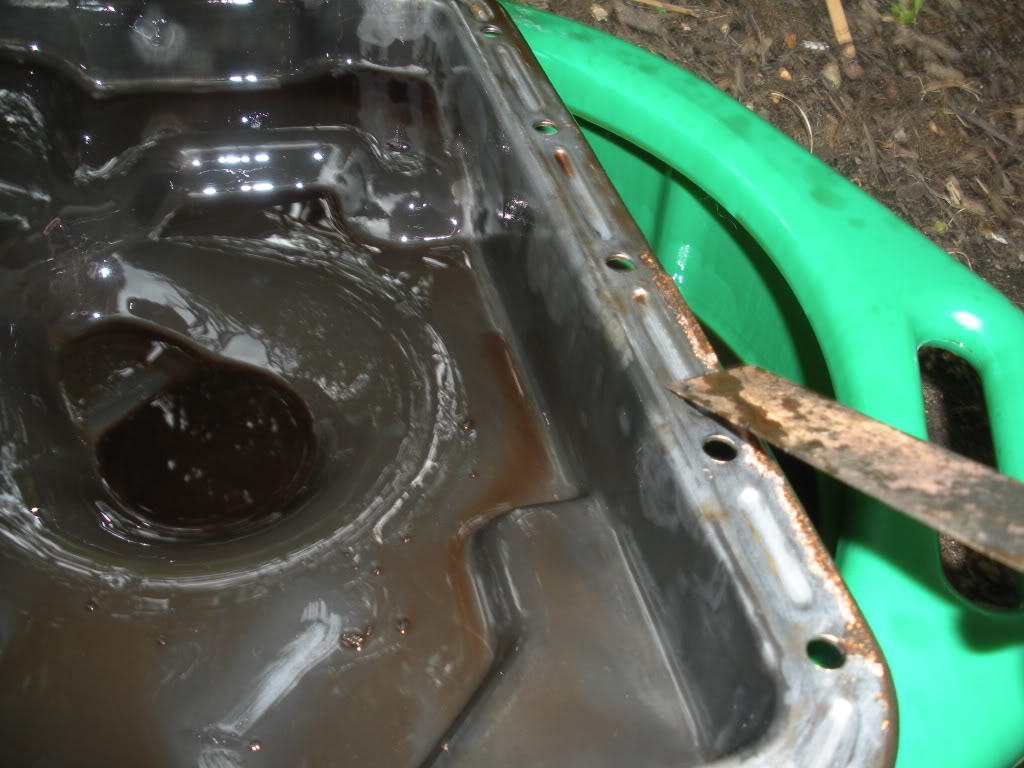
Now take the bottle of Brake clean and spray the inside of the pan clean
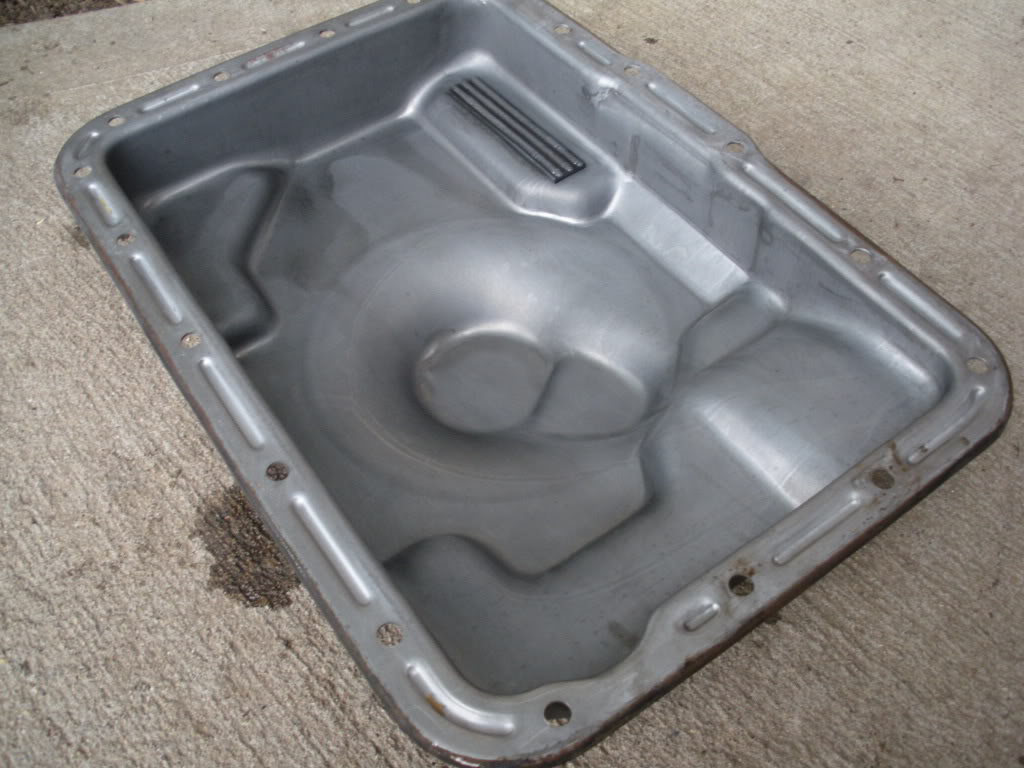
Step seven: Take out your new seal. To keep the seal from moving around while you try to bolt the pan back up, spread a little bit of RTV around the pan. Place the seal on the pan, make sure all the holes line up with the holes in the seal, go around and press down on the seal to make sure that the seal is in place properly.
Step eight: Unbolt the Transmission filter.
This is what it's going to look like under there
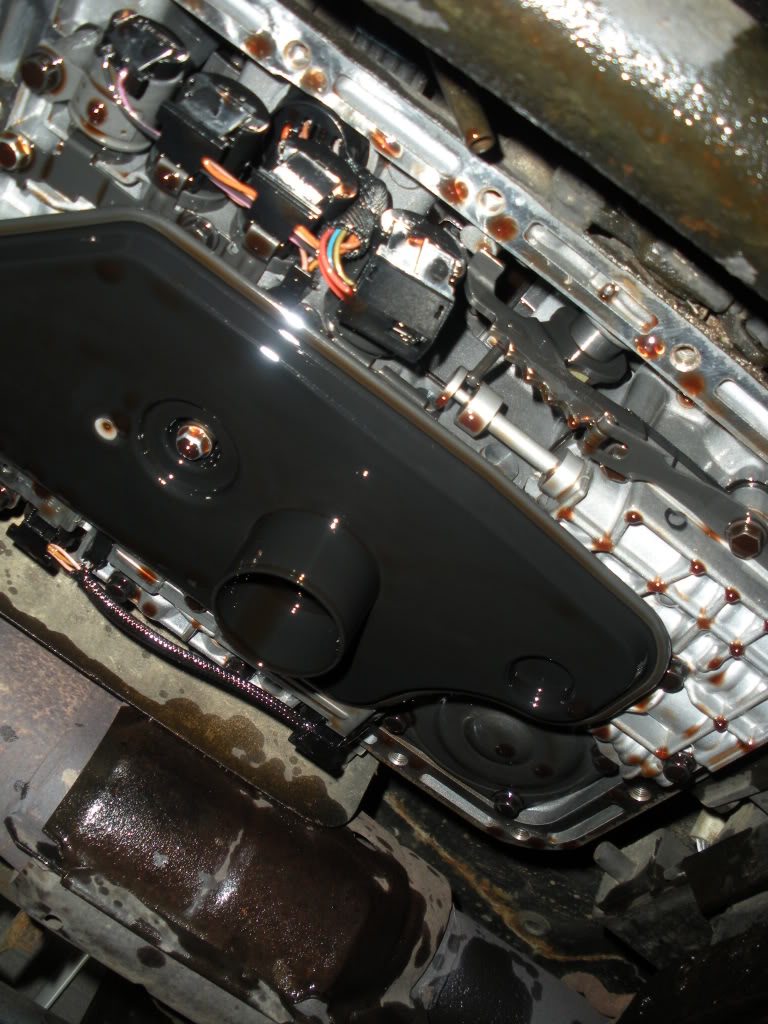
My old filter used a 10mm bolt while my new filter used a 8mm bolt so just look and see what yours may need.
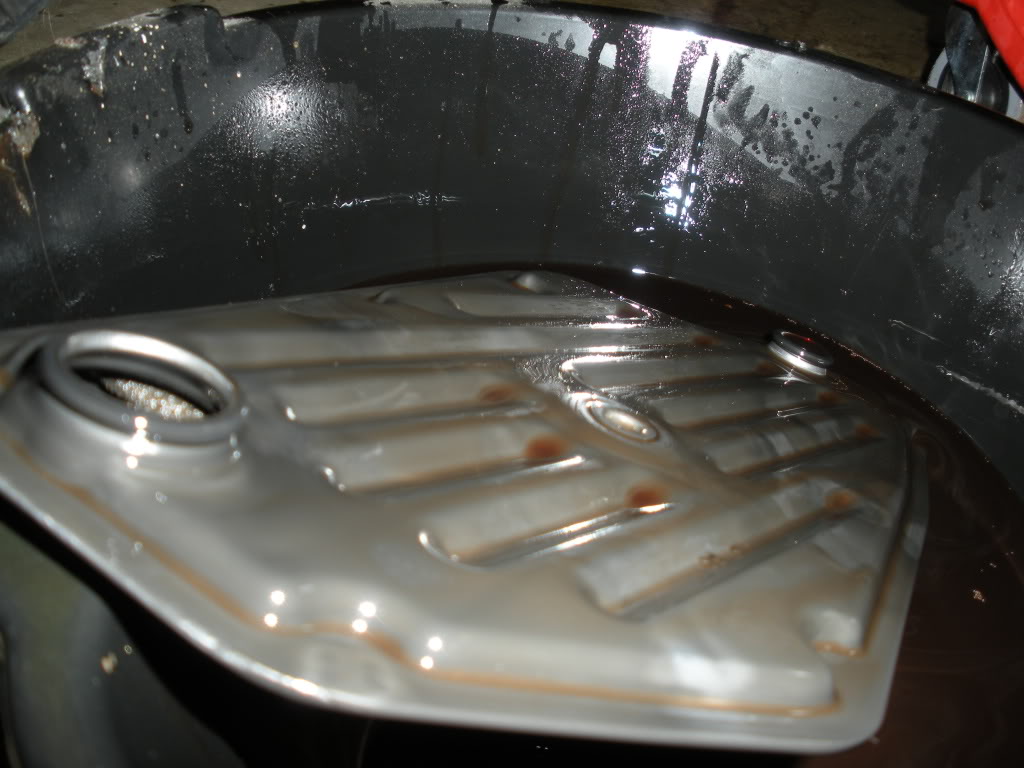
Step nine: When taking the filter off, make sure you still have the Drain pain in place under the Transmission because there is still some trapped fluid behind the filter. When the filter is off make sure the 2 O-rings are still attached to the open circles of the filter as so
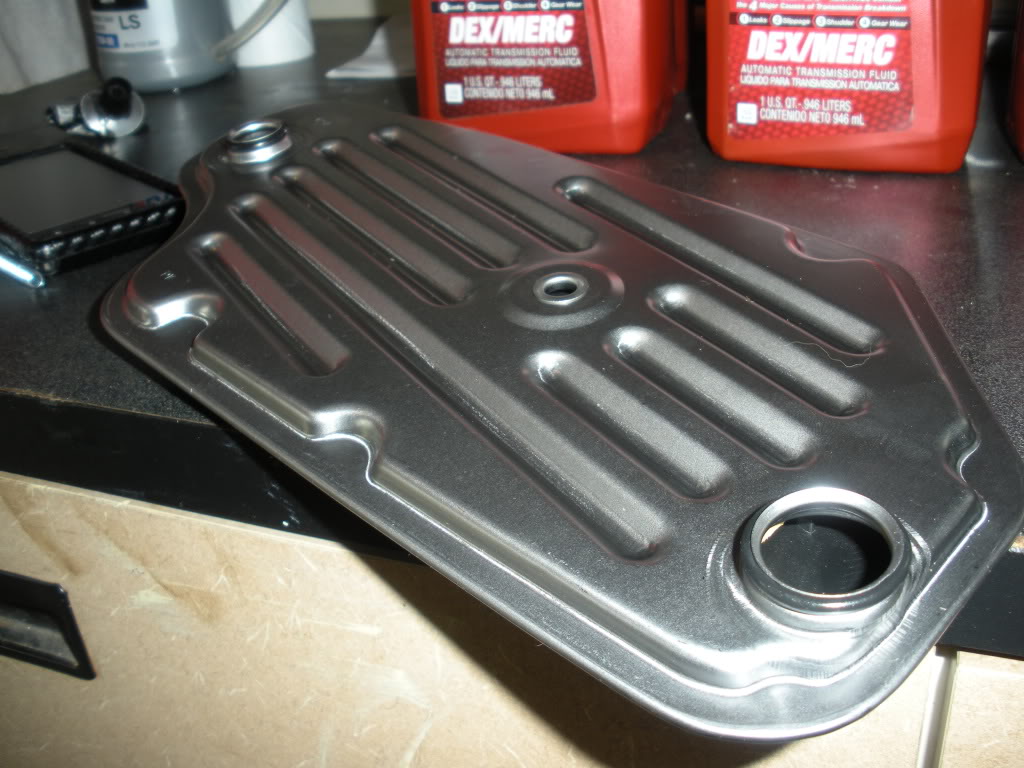
Step ten: Make sure to put the New O-rings that come with the kit in place on the new filter
Step eleven: Put everything back in, in reverse order. Torque bolts to proper specification.
Step twelve: Put fluid in accordingly. I put 4 and a half quarts in and then went through the gears to properly check the fluid level.
Good Luck! I hope this helps.
The tools you will need for this job are a:
3/8" socket wrench
3/8" socket extension
3/8" Bendable socket extension
13mm socket
Large drain pain
scraper
RTV
A long and narrow funnel
Brake clean
If you have a creeper it helps out alot.
You will need 5 quarts of Transmission fluid preferably Valvoline Max life Dex/Merc Transmission fluid. You will also need to purchase the Filter kit which comes with the filter, necessary O-rings, bolt and fresh seal for the transmission pan. I purchased all of this at my local auto parts store.


Step one: Put your truck where you want to work on it and put it in park. Use Jack and Jack stands if necessary.
Step two: Remove the clips of the shield that is located on the passenger side in between the transmission pan and Catalytic converter and move it up and out of the way.

Step three: Start taking out the bolts along the sides of the pan.

leave 2 bolts on each end of the pan on for now.
Front of Pan

Rear of pan

Step four: You want to drain the fluid from the rear of the pan. Make sure you have your Drain pan in place. To do this Loosen the 2 rear bolts a couple turns. Then go ahead and loosen the front 2 bolts a couple less turns than the rear, this way the pan will start to tilt towards the rear so the fluid will come out on one side. You may have to get a screwdriver and pry between the pan and the transmission to release the seal for the fluid to really begin to come out. Now continue to loosen the rear bolts and the front 2 bolts until the majority of the fluid is out.
Step five: Drop the Pan and dump any remaining fluid in the drain pain.
Step six: Take off the old seal

scrape any remaining pieces so that the surface is clean of the old seal.

Now take the bottle of Brake clean and spray the inside of the pan clean

Step seven: Take out your new seal. To keep the seal from moving around while you try to bolt the pan back up, spread a little bit of RTV around the pan. Place the seal on the pan, make sure all the holes line up with the holes in the seal, go around and press down on the seal to make sure that the seal is in place properly.

Step eight: Unbolt the Transmission filter.
This is what it's going to look like under there

My old filter used a 10mm bolt while my new filter used a 8mm bolt so just look and see what yours may need.
Step nine: When taking the filter off, make sure you still have the Drain pain in place under the Transmission because there is still some trapped fluid behind the filter. When the filter is off make sure the 2 O-rings are still attached to the open circles of the filter as so

Step ten: Make sure to put the New O-rings that come with the kit in place on the new filter

Step eleven: Put everything back in, in reverse order. Torque bolts to proper specification.
Step twelve: Put fluid in accordingly. I put 4 and a half quarts in and then went through the gears to properly check the fluid level.
Good Luck! I hope this helps.
Last edited by 98liftedranger; 11-28-2011 at 12:08 AM.
The following users liked this post:
Bladeforger (01-21-2023)
#3
The following users liked this post:
Bladeforger (01-21-2023)
#4
Joined: Jul 2007
Posts: 2,417
Likes: 2
From: North Canton, Ohio
Yes, that's how I did it.
Thanks. I've never heard of that but its a good point to keep in mind if you have those specs.
Thanks. I've never heard of that but its a good point to keep in mind if you have those specs.
#7
This procedure is good, but it should be noted that it only replaces the filter and about 4 to 5 quarts of fluid. The torque converter holds a bunch, so on start up, the fresh 4 to 5 quarts will soon mix with the old fluid still held in the torque converter. A true "flush" (that gets all the fluid changed) can only be done at a shop that has a flushing device.
This however is still a good way to get some needed additives into old "stale" transmission fluid. If this is done every 30K, the transmission will last much longer.
This however is still a good way to get some needed additives into old "stale" transmission fluid. If this is done every 30K, the transmission will last much longer.
#9
Full flush technique
Here is how I do my transmission service. I've done this multiple times (all different kinds of cars) and it works perfectly.
1. Buy the qty of quarts your transmission system uses + 4 more. (probably 12+ qrts)
2. Buy a new filter and gasket.
3. Remove the *top* tranny pipe that goes into the radiator.
4. Plug the open radiator hole. (its only low pressure so a pushed in cap w/tape or held in place with finger is ok)
5. Put a tight fitting hose on the disconnected pipe and route down to a large catch container.
6. Stand there making sure the hose isn't near a belt and is properly routed to the catch can... have a friend start engine (leaving it in park) and let it run until the hose starts to spit air. Tell them to stop engine. NOTE: it takes about 15 seconds for the fluid to start coming out of the hose and it takes about 1-2 minutes for about 4 quarts to come out)
7. Put 4 quarts down the trans dipstick tube.
**Repeat steps 6 & 7 until you have swapped the systems fluid capacity. At about 70% of the capacity you'll see it turning a brighter red. And right about 100% + 1 quart it ought to be as bright red as is it in the bottle. (Mercon V isn't as bright red as some other others are)
8. Drop the pan, replace the filter, clean the magnet, reinstall w/new gasket.
9. Fill until the dipstick shows in the filled area.
10. Disconnect the negative battery terminal. Touch the neg to the positive for at least 15 seconds. (or use a little wire to connect the two)
11. Reconnect the battery. Turn ignition key on and floor the throttle twice to reset the TPS sweep range. Then start the engine and let it idle. (look up idle learn process if you wish)
12. Go for a drive and get the fluid hot. Park on a level spot and top off as needed.
Tips & Info:
- Touching the battery terminals will clear the memory and force the tranny to relearn shifts. After a few days of driving / shifting it'll feel new again. (has to go through each shifting point and learn shift functions to make the physical shifts achieve the commands from the computer)
- Mercon V is sold by walmart and in my experience it's about the cheapest place you'll find it. If your local WM doesn't have it in stock, ask them to order it for you. When doing my 98 ranger w/3.0L I used 13quarts. Also they will take the old fluid for recycling. NOTE: Mercon V isn't in high demand anymore so they may not have 12+ quarts in stock. (I had to wait 1 week for them to get more in. But it was 1/2 the price vs other auto parts stores)
- Use a wrench to hold the tranny fitting still when loosening / tightening the tranny pipe. You don't want to let it turn in the radiator if you can help it.
- Using this method is about $150 cheaper than a Ford dealership would charge and you pretty much get the same results.
The last car I did this to was my (new to me) 98 ranger 3.0L w/150k miles on it. It's been about a month now and the tranny shifts exactly like new.
I've noticed the upshifts are crisp and consistent. Going into fwd or reverse is a little softer than before the flush.
btw, my old filter was not the oem filter and there was a lot of grey matter on my magnet. The fluid was fairly dark but not burnt smelling. I think at some point in time someone changed the fluid. But it looks like had been many yrs ago.
Thread
Thread Starter
Forum
Replies
Last Post


